47 – Cowl Baffle Part 3 – Snorkel
The EXP119 Snorkel is a different design to the standard IO-390, since it uses the FM200 Fuel Servo.
The first stage is to progressively trim the CB-00020 Air Filter Frame and the lower end of the VA-271 snorkel, checking the fit of the CB-00020 on the CB-00009 Left Air Ramp. You continue trimming until the CB-00020 aligns with the CB-00009 with no preload.
There are several variables governing the fit! The manual highlights that small adjustments at the snorkel/fuel servo has a large effect!

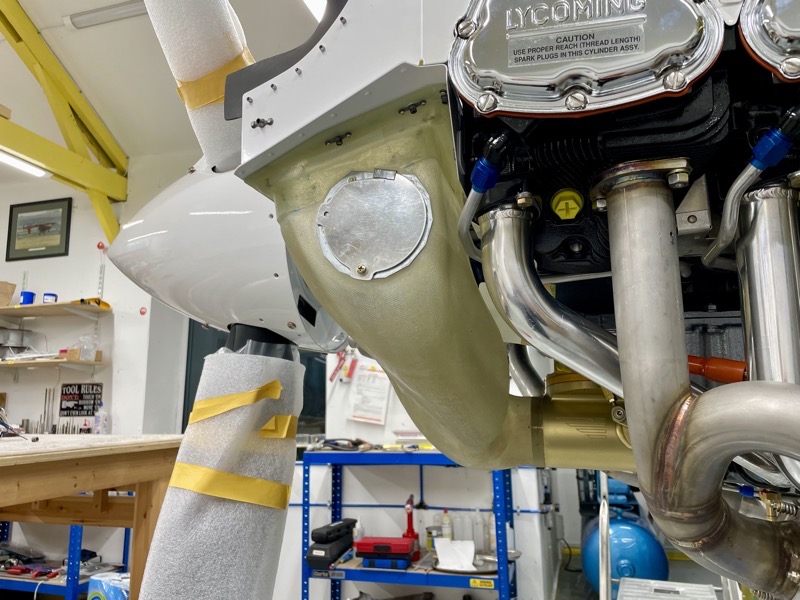
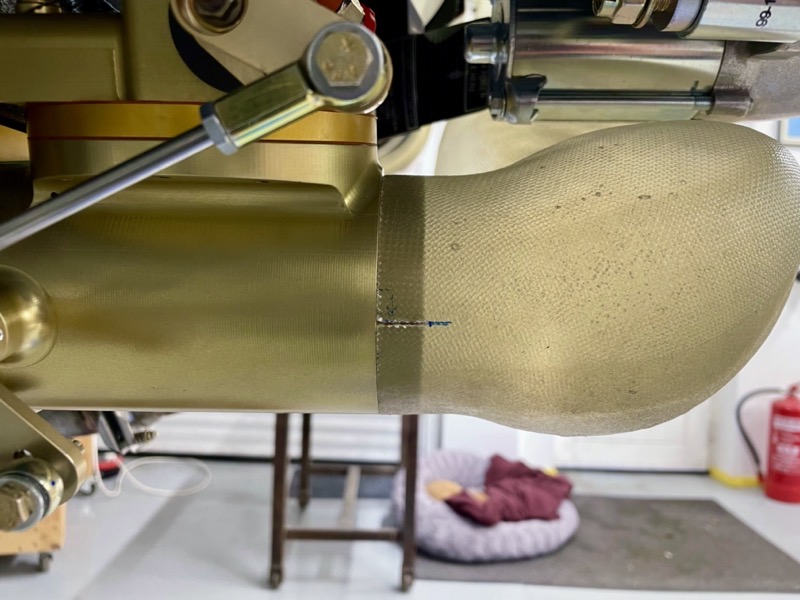
This shows a first fit, and the snorkel flange has not yet been trimmed to match the fuel servo shoulder.

I used tape to mark a trim line, keeping parallel to the fuel servo shoulder.

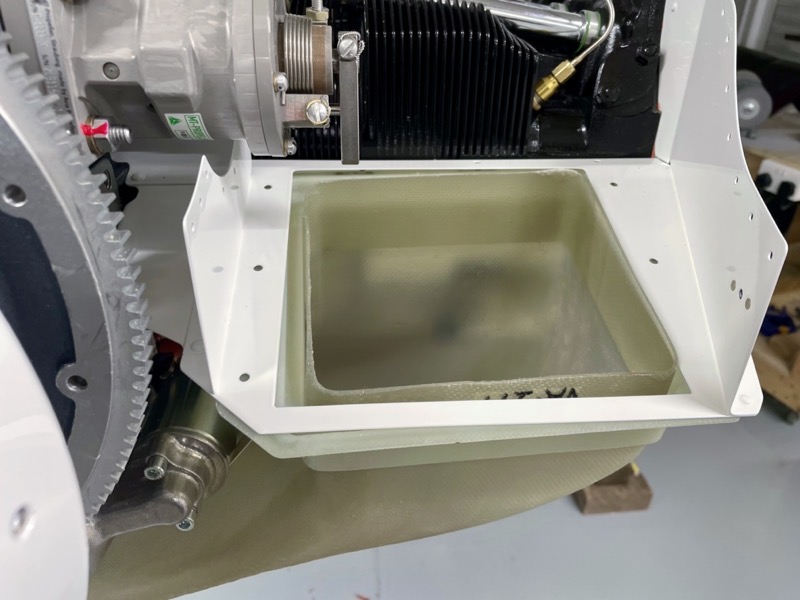
When I first offered up the snorkel, I wondered how it was ever going to fit. But by gradually raising it in the CB-00020 Air Filter Frame, and by removing raised areas on the outboard edges, it eventually found a sweet spot : )
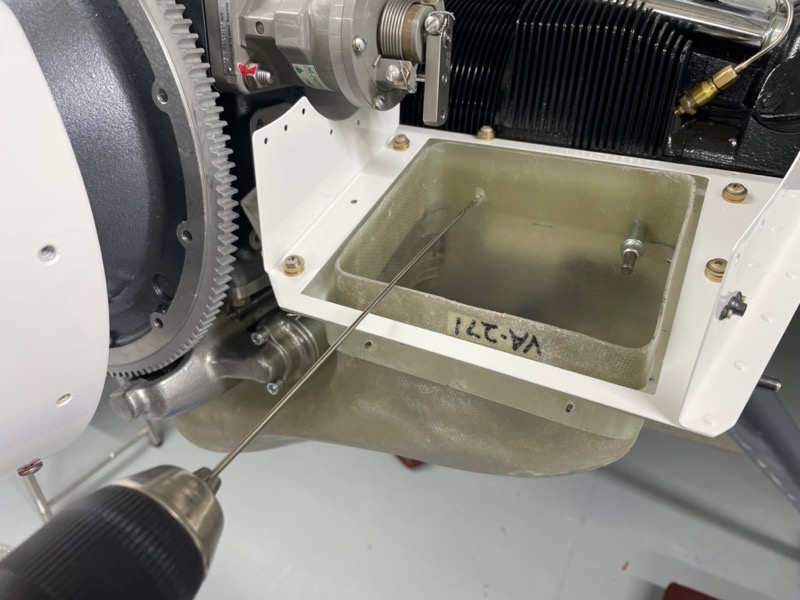
The CB-00009 Left Air Ramp has a fair amount of flex on the inboard side, so I used a level to check it was parallel to the aircraft wing spar.
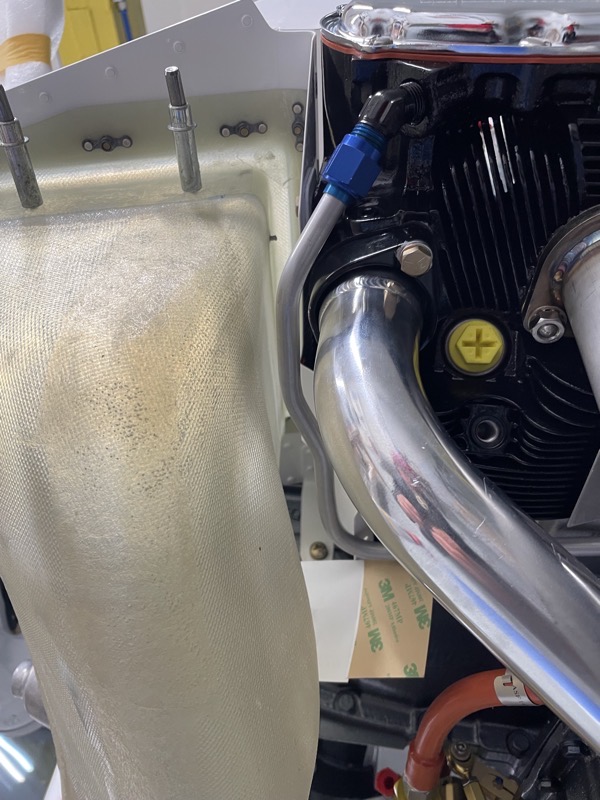
It’s all a compromise … as you adjust the snorkel to remove any preload, it gets very close to the starter solenoid.
I found that the snorkel really wanted to be a bit higher, but by removing some material from the CB-00020 Air Filter Frame’s outboard flange, I was able to remove the preload without compromising the solenoid clearance.
Once happy, holes are drilled and clecoed to fix the position.
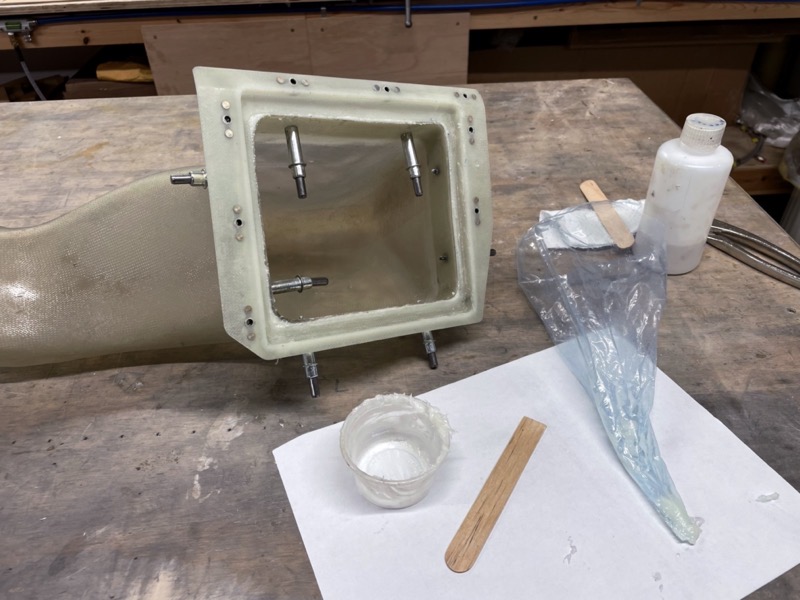
After marking and trimming the upper snorkel edge, epoxy/flox is used to bond it together.
Coral’s cake decorating bags were just the ticket! : )

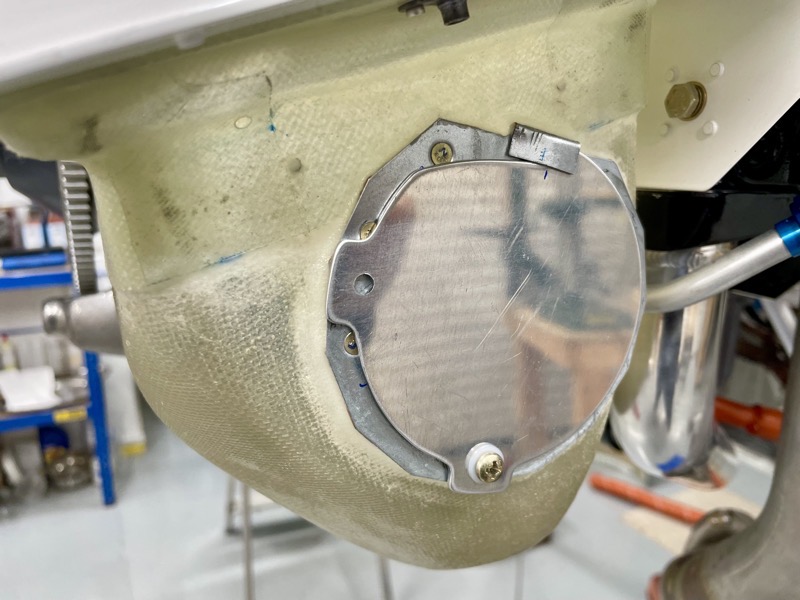
Whilst the epoxy set I screwed it in position to ensure perfect alignment.
Four small slots are cut in the flange to so the securing duct hose clamp can do its job.
Also a small drain hole is drilled at the lowest point … I tried to judge where the lowest point would be when the plane is sitting on its tail.
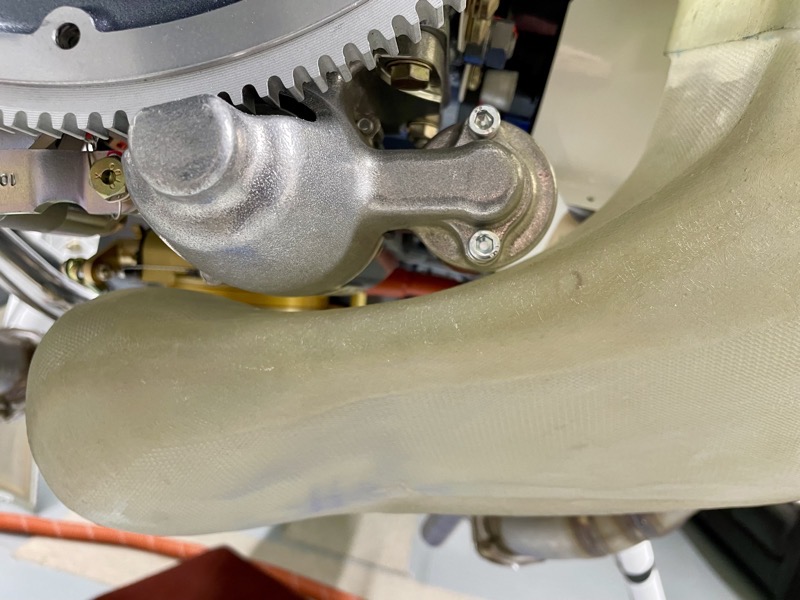
This is the forward cylinder drain tube as supplied by Aircraft Speciality, replacing the Lycoming version. Some builders have found interference between the Lycoming version and the EXP119 snorkel, so they have built and tested a CNC bent oil drain tube that provides the necessary clearance on the snorkel.
As you can see it has a little kink, which keeps it well clear of the snorkel.

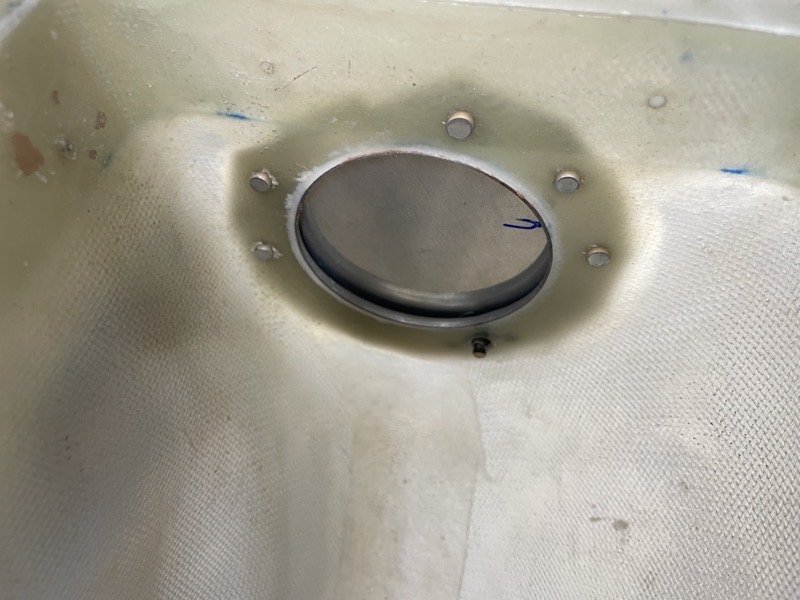
A hole has to be marked and cut out for the VA-192A Alternate Air Inlet.
The inlet has quite a large flange, which sticks out into the snorkel. I decided to trim this back.
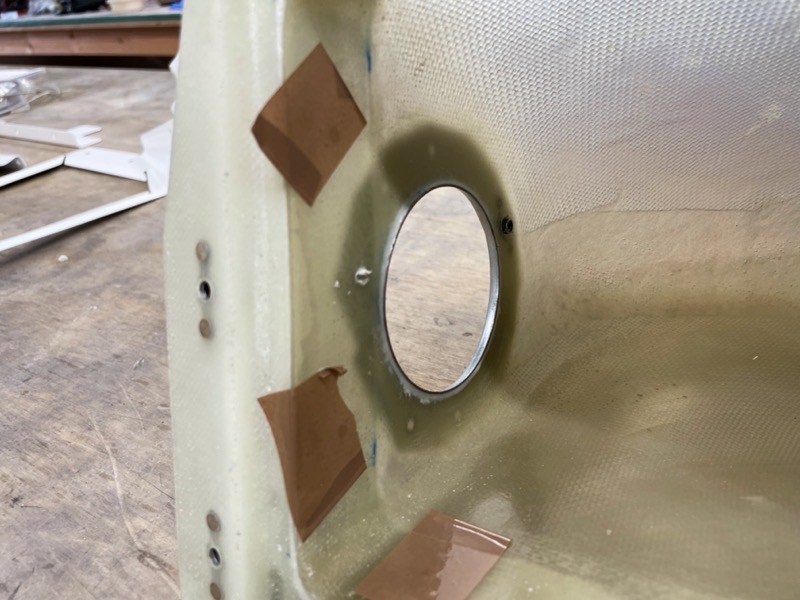
There is now less obstruction on the snorkel side wall.
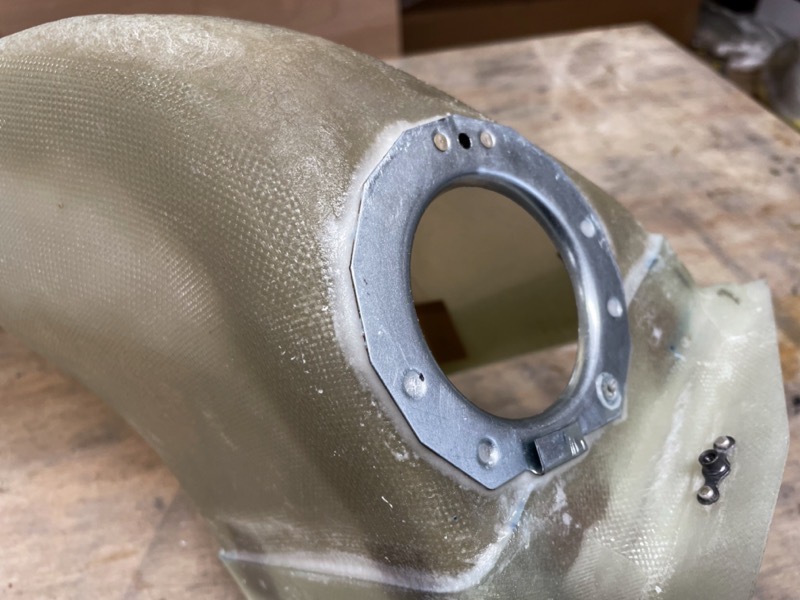
Interestingly my VA-192A had holes drilled which were a mirror image to that depicted in the manual.
But the important holes were in the correct place, so I reckoned it didn’t matter.
The manual text on page 47-19 also shows four holes to be dimpled, whereas there are actually five.
This shows the inlet epoxy/floxed in position, with the holes yet to be match drilled.

The rivets are specified as AN426AD4-6!
Since these have to set with the gun, I was concerned about AD rivets causing trouble.
So I used softer 1/8″ rivets, namely MS20426A4-6, which set much easier and are still strong enough for the job I’m sure.

If you use these softer rivets then practice first … they do not need much bucking.
Actually on page 5-16 of the manual, Vans suggest using soft rivets on fibreglass.
I haven’t found any issue using the 3/32″ size rivets, but I think 1/8″ need consideration.
As per the manual, I found the VA-192B Filter Bypass Door did need slight trimming to prevent interference with the inlet door tab.
Another job done.
I’m intending to spray the cowling interior, so I’ll give the snorkel a coat at the same time.
See Part 4 …