


29-02 to 03 Joining FWD and MID LWR Fuselage Structures
The accuracy of this kit is just amazing!
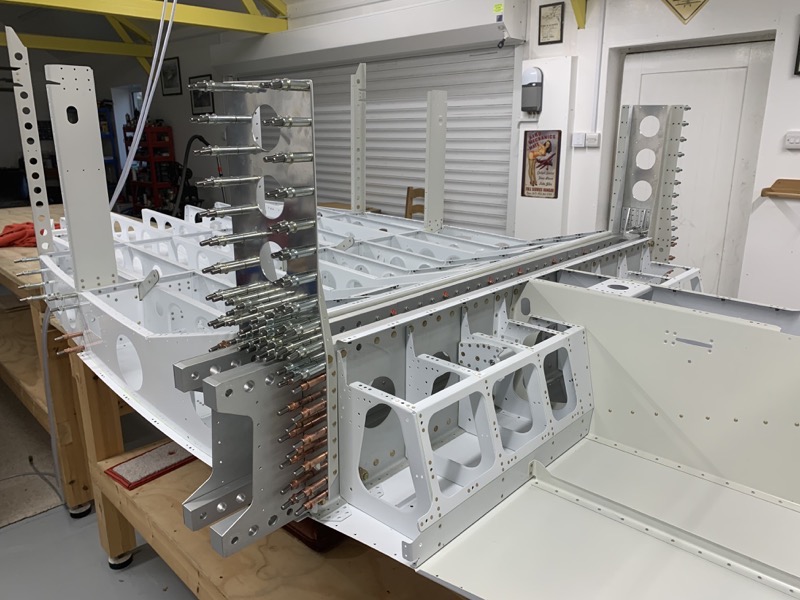
The FWD and MID LWR Fuselage Structures slid together and fitted perfectly.

I had previously primed the areas of the skins which overlap, but I also coated the mating surfaces with JC5A as normal.
I propped up the rear with a cardboard box to ensure it was at the correct angle as we moved it into position.
Drag Fittings

The upper & lower Drag Fittings are bolted into place, but not fully tightened at this stage.
The bolts were a snug fit, and needed a gentle tap to insert fully home.
Center Section Side Plate

The Center Section Side Plate is then clecoed into position, and the Upper Drag Fitting clamped firmly.
The bolts are then nipped up but not torqued.
I found it easiest to use a 6″ #40 Drill Bit to match drill, allowing better access.
The reflection in the Side Plate enabled a perpendicular hole.
Once all match drilled, the Center Section Side Plates are removed for deburring the holes ready for reassembly.
The holes will be final drilled to #30 later on.
The Lower Drag Fittings will be permanently in place during the next stage, so even though the bottom holes will be final drilled, I primed them ready for assembly.
I also leapt ahead to 29-05 and prepared the VA-146’s and Shims ready to fit the Control Column Assembly.


