


Section 28 Finished! Pages 08 to 11
Fuel Selector Valve Bracket
I squeezed the rivets on the Selector Valve Bracket …
Routing Channel

… and on the Routing Channel.
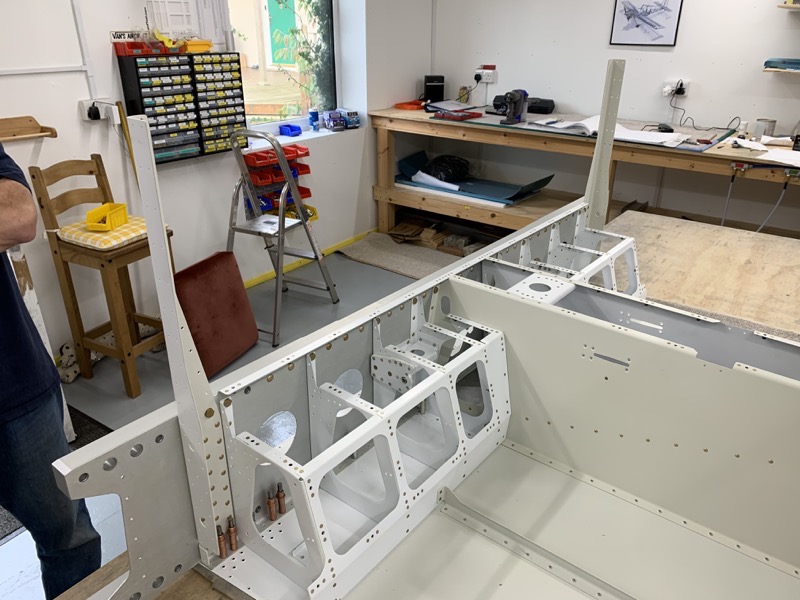
Attaching Forward Center Section Bulkhead Assembly
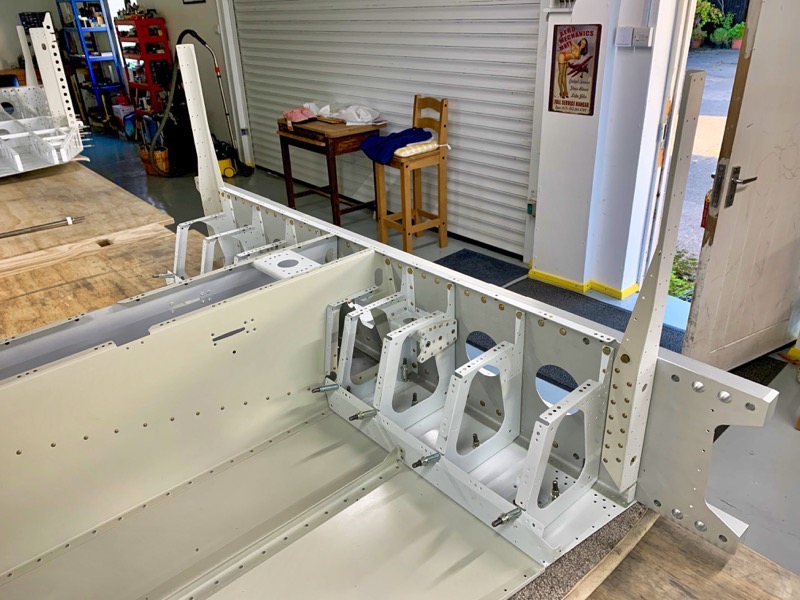
The Bulkhead Assembly fitted nicely overall.
I found that the left side needed a gentle tweak of the lower skin to align all the rivet holes perfectly. Probably caused by splay on the rear tunnel.
We slid the assembly over the edge of the bench to give access for riveting the Cover Panel Ribs to the lower skins from underneath.
The rearmost rivet of each rib is NOT set to allow the mid section to be inserted later.
Cover Bases

A fellow riveter makes all this a lot easier! Cover Base rivets bucked.
Tunnel Sides

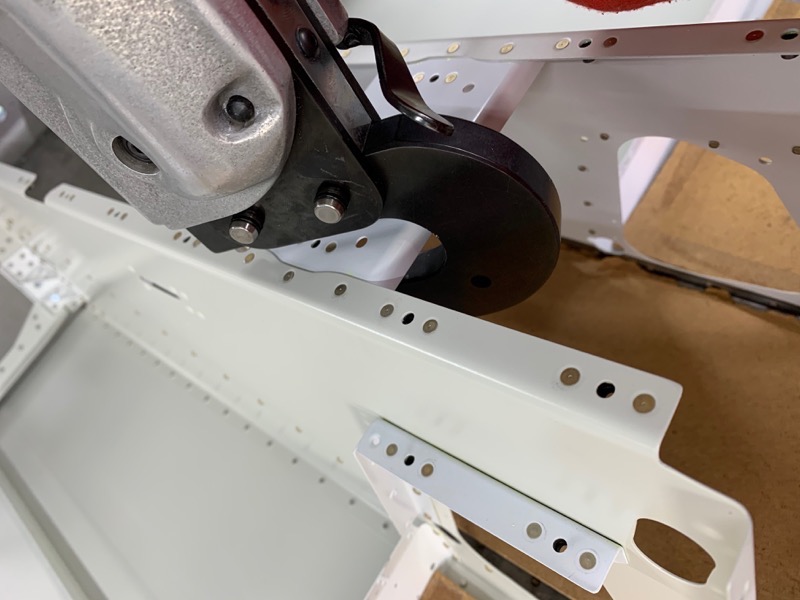
We managed to set the Tunnel Side AN470AD4-5’s with the Manufactured head on the side flanges by using the long rivet set.
Cover Panels
Lots of nut plates to attach, with very restricted access and visibility.
We taped a spacer on the bucking bar used for the top nutplates to make it safer to position the bar without impinging on the nut plate thread area itself … it’s just hard to see the positioning without a mirror etc.
The specified rivets for the top flanges seemed a little short … so we used -3.5’s.

Vent Assemblies

The Vent Assembly attachment went easily.
I used as low a pressure as possible for riveting on the Firewall to prevent distortion.

Left and Right brackets are orientated the same … ie they are NOT mirrored.
Battery Box
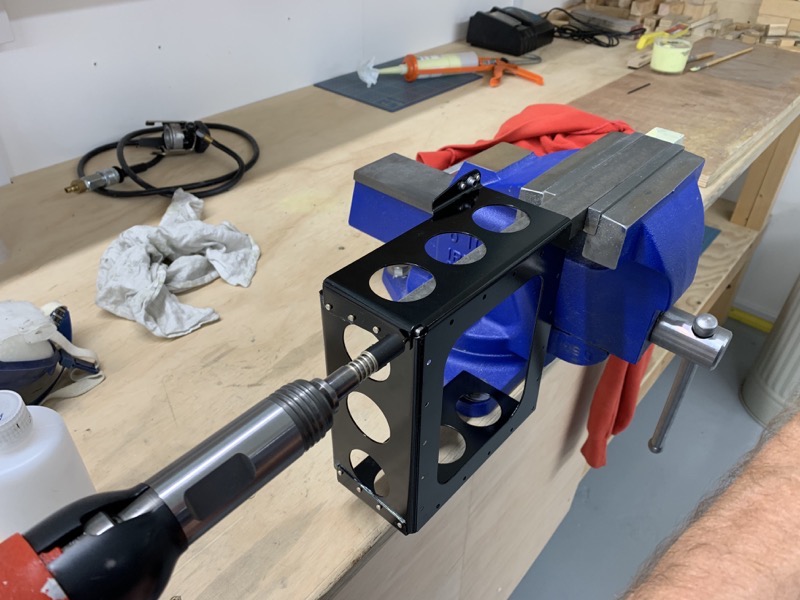
I managed to squeeze 3 of the 426 bottom rivets on each side in the battery box, but couldn’t reach the last ones in the very corner.
But Tim had a moment of inspiration … we used the bucking bar that was used on the elevator.
We clamped it in a vice and then back-riveted the flipping thing. Worked a treat!

There was enough flex in the box to allow a mushroom set on the top & side rivets, but had to back-rivet the bottom ones …

… by using a couple of Tungsten Bucking Bars.
So that’s it, Section 28 all done!


4 comments on Section 28 Finished! Pages 08 to 11
I’m not reading this anymore – it puts me to shame! All very neat.
Photos are very kind though, aren’t they? Not quite so neat in the flesh!
I’m with Chris – I still think your proseal is obscene… Finally had my workshop inspected, about to start section 6 but I probably wont be doing a blog so I can keep my sloppy work to myself and my inspector :O)
Good luck with your build Rich … the adventure is about to begin!