32-05 to 08 Section in the bag!
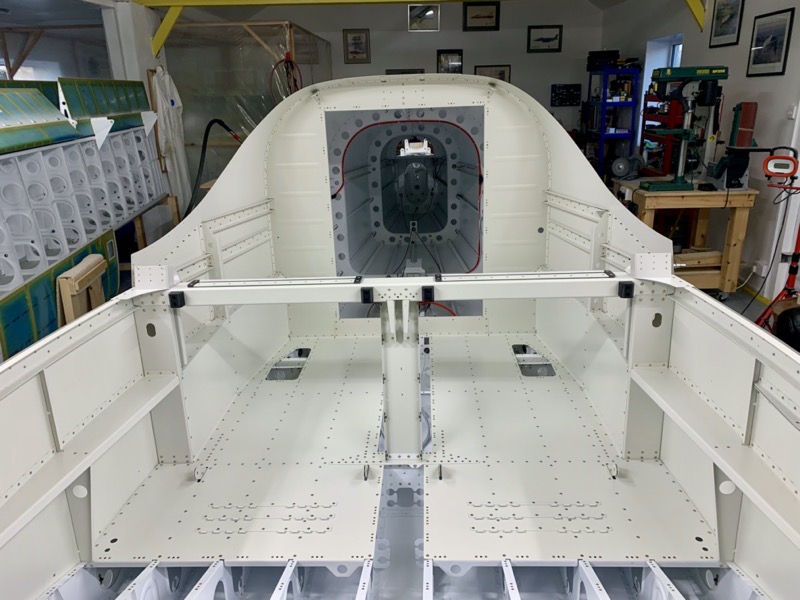
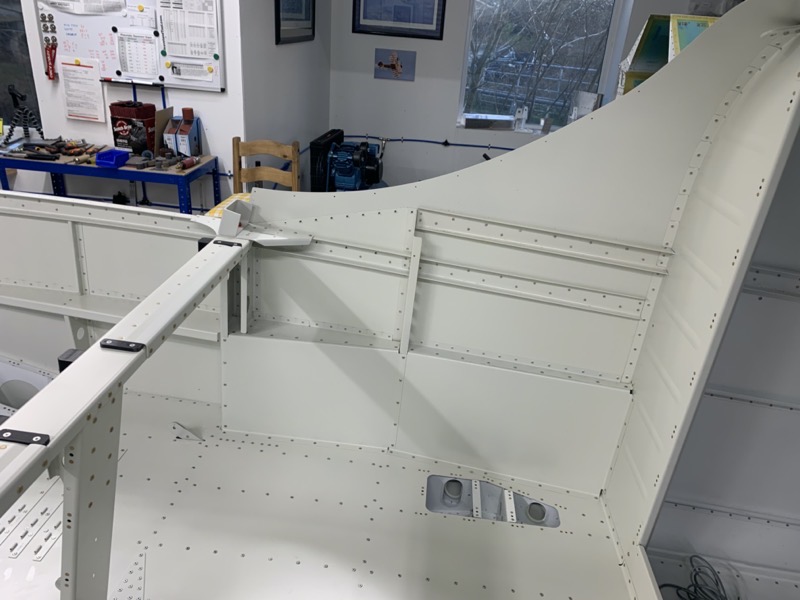
Baggage Floor Installation
Once all the underfloor structure was as clean as possible, I clecoed on the baggage floors.
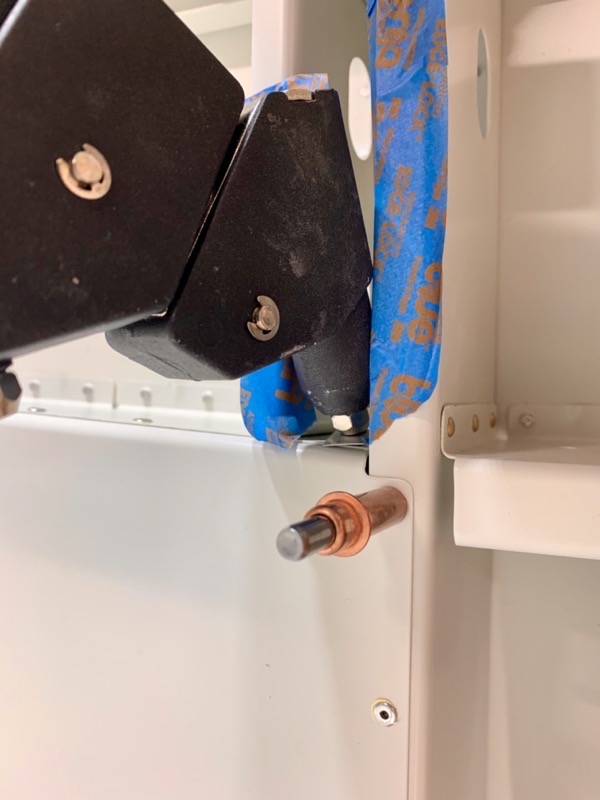
In the next Section 33 Brakes page 33-11 it gets you to insert SB750-10’s, which by then would be under the floor.
You can still get to them, but I thought it easier to add these before installing the floors.

Once again being able to position the fuselage on its side made access very easy.
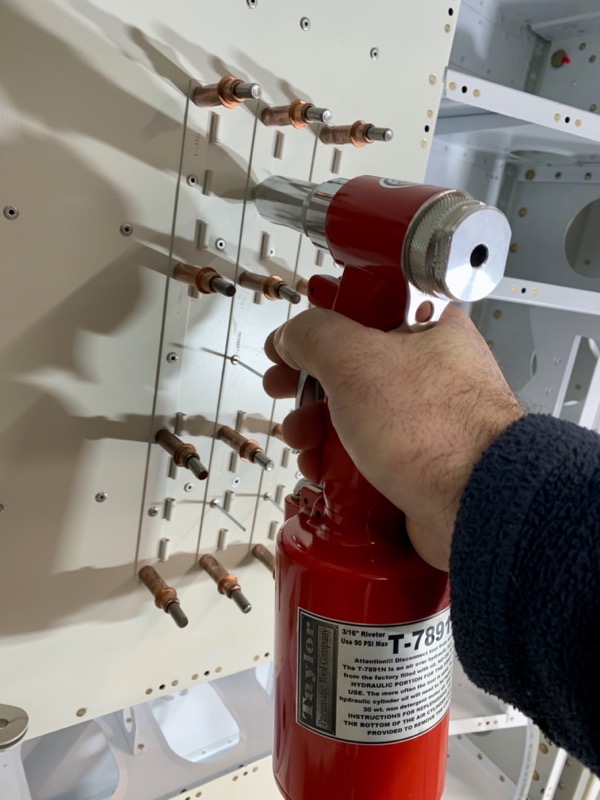
And the pneumatic pop-rivet gun made setting lots of LP4-3’s very enjoyable! : )

A few places needed the usual wedge.
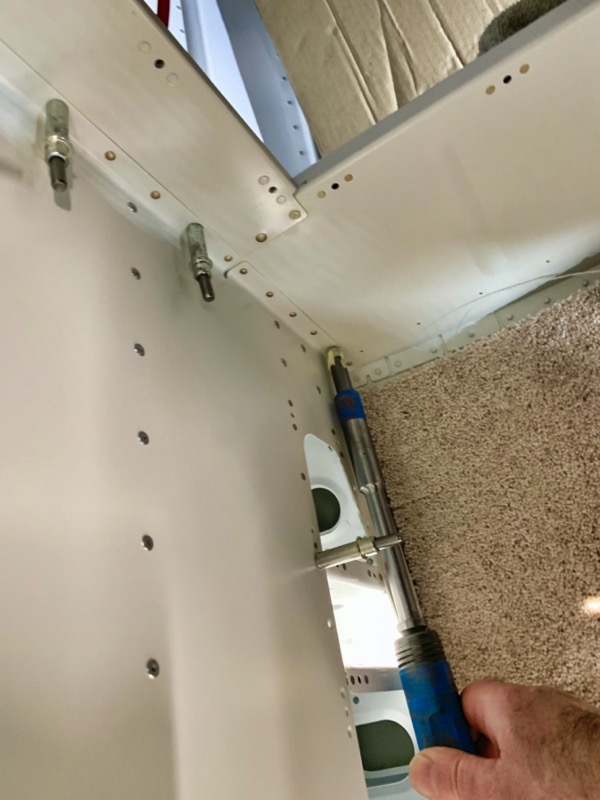
The tab rivets on the aft edge of the floors needed my long set.

I managed to squeeze most of the rivets around the edge of the Step Access Panel … but you’d need the smallest yoke to get all of the blighters. So some faced the bucking bar, being very careful not to damage the nut plates.

I used the squeezer for all the nut plates and -4 rivets on the inside & front edges of the floors.
It was a quick little job to rivet on the seat back hinges.
Flap Motor Channel & Brackets

The Flap Motor Channel & Brackets assembled easily, and I only had to buck the bottom 4 rivets.
Baggage Side Covers
These assembled quickly. The manual on page 32-08 calls out 426 rivets for the rear tabs … they obviously mean 470’s.
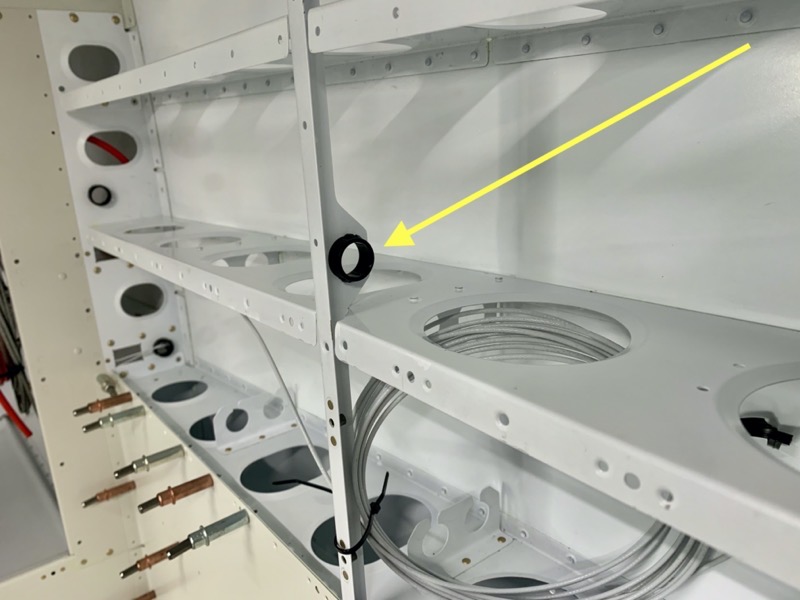
Only one awkward rivet …
… the one between the two side channels.
My hand pop riveter just fitted in the gap, with a fierce angle even with the wedge!
So that’s it, section 32 finished.
The last note in the manual says
“If you choose to do so, now is a good time to paint the cockpit interior.”
Now I have a nice smug feeling, because I already have! : )
To be honest, there is a finishing touch to do … I’ve always wanted an excuse to own a little airbrush, so I’ve just bought one and will use it to spray the rivets that will be visible.