


36-02 to 04 Elevator Pushrods
It’s actually early April as I write this, although the eagle eyed will spot that the date on the entry is mid March. This is because I date the entries to match when the work took place, not when I write about it.
I normally keep up to date with this blog when away on work trips, but due to CoronaVirus, much of my flying job has come to a grinding halt.
Hence I’ve been busy in the workshop at home, making more progress on the RV14 than on this blog!
I printed out a copy of the PUSHROD DRILL TEMPLATES. It took a few attempts to get them the correct size!
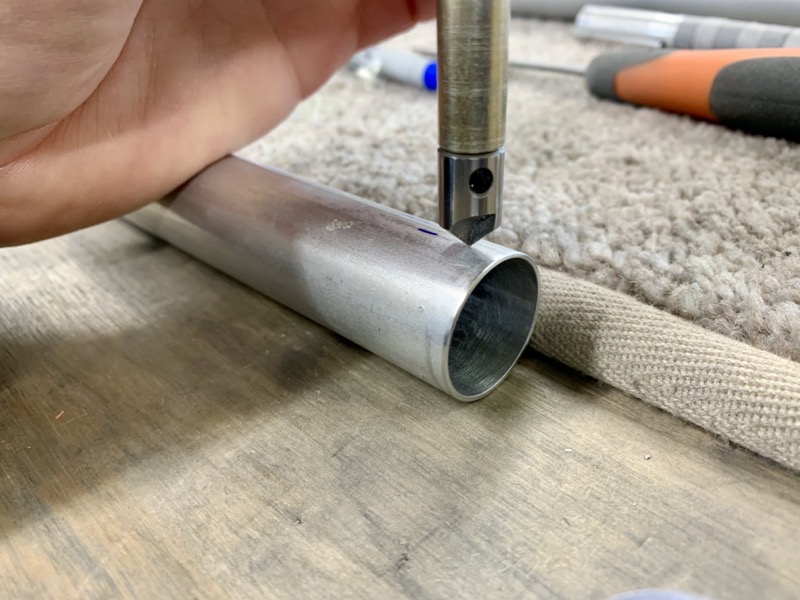
Having centre-punched the holes, I used the deburring tool to slightly deepen the mark, hoping this would help keep the pilot drill bit centered without wandering on the curved surface.

And it worked well, resulting in accurate #40 pilot holes.

I clamped the tubes very gently, just enough to anchor them.
It’s obviously important not to forget to mark the workpieces to prevent later frustration as you try and match the holes!

Having deburred it was time to prime the pushrod interiors.
But how to scuff and degrease?
Well I pushed Scothbrite through several times with suitable wood/dowels.
Then did the same with my usual Wiper Roll Sheet soaked with Acetone.

I poured my Acid Etch Primer down the tubes, rotating gradually to ensure coverage.

It took me a while to work out the best way to spray the flipping things!
In the end I suspended them from wooden inserts screwed into the ends … screwed so I could rotate the tubes during spraying.

I also marked the inserts so I could still match the correct Rod End Fitting.

Rod Ends sprayed and marked.

Nice little job with the pneumatic pop rivet gun to set the rivets.
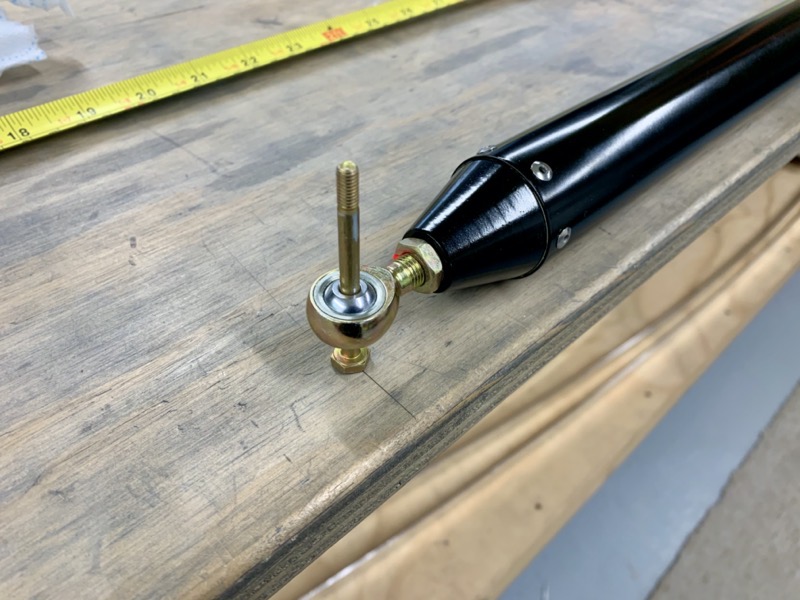
I marked the bench with the required pushrod lengths to adjust the rod end bearings.
I set the lock nuts on one end of each pushrod, leaving the other ends until final installation.


