36-05 to 14 Attaching Elevator Pushrods
I took care to adjust the pushrod lengths as close to the manual specs as possible. Having nipped up the lock nuts on one end, I then started connecting it all together so as to leave easy access for the pushrod ends that still required adjusting/locking.

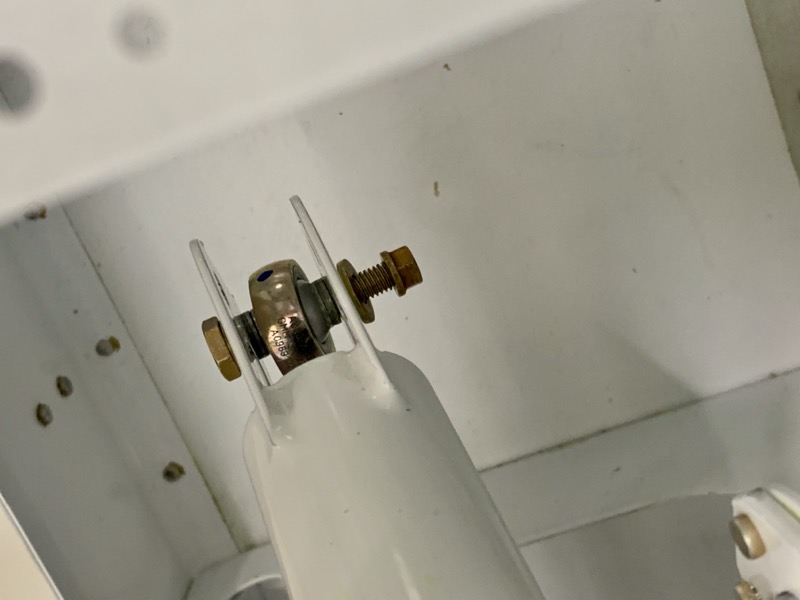
With the pushrods attached on the idler arms, I couldn’t quite get a piece of paper between one arm and the bracket flange …

… so off with the pushrods and a bit of filing.
Then a touch-up with primer on the bare metal.
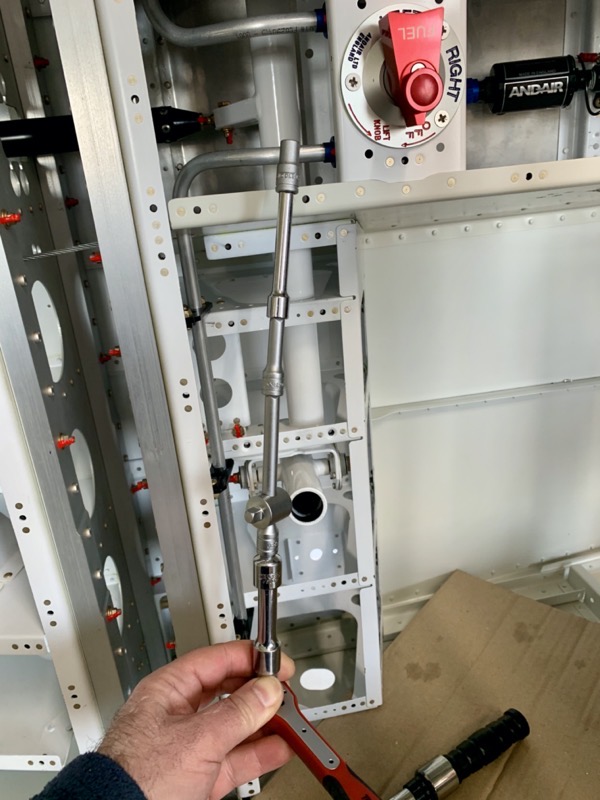
Connecting the CS-00001 Fwd Elevator Pushrod Assembly to the CS-00006 Control Column proved harder than I anticipated!
As you can see, I eventually came up with a convoluted spanner arrangement to reach and torque the flipping hardware.
Anyway, after a bit of perseverance job done : )

I again locked one end of the CS-00004 Stick Link Pushrod prior to installation.

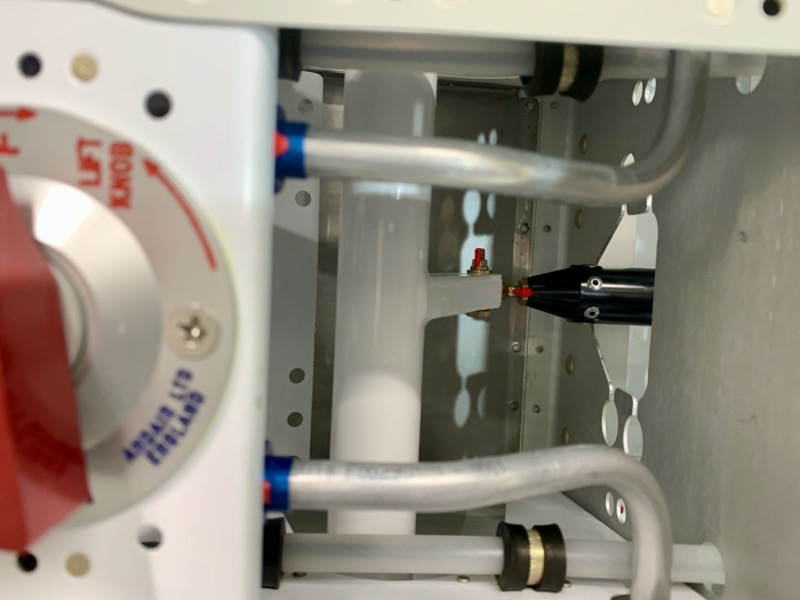
After temporarily connecting it up without the washers …

… I checked that the sticks were parallel.
With the pushrod length as per the manual the link only needed 1/2 a turn to fine tune the setup.

I tried to stick the washers in place with grease, but it was hopeless.
So I made a little tool to push the washers in place.
The tool saved time in the long run!
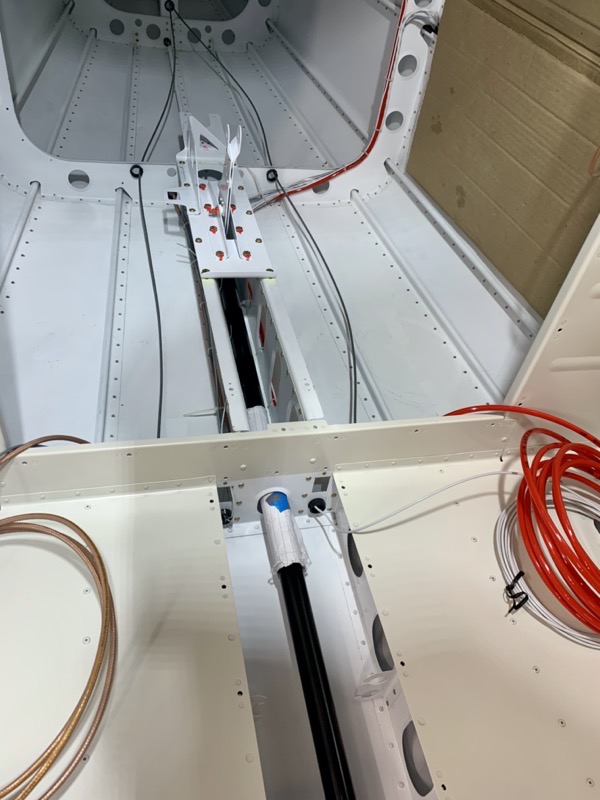
After bolting the CS-00002 Mid Elevator Pushrod Assembly to the Bellcrank Assembly, I pushed it all into place from the rear.
I had already installed the Yaw Servo bracket, and for a moment thought it was going to cause a problem … the assembly wouldn’t quite get past it.
But with a gentle flex it just went … phew!