


Oil Changes
Oil

G-STRV has had two oil changes to date, at 5 hours and 25 hours.
This has been straight mineral oil as specified for engine “break-in”. During the summer we initially used Aeroshell 100, but at the last change heading into winter we’ve used the less viscous Aeroshell 80.
Oil Filters

There has been a world shortage of oil filters, so it’s needed a bit of planning ahead to make sure we had one available at the right time. Basically, “can I borrow yours and I’ll get you one in a few weeks” etc.
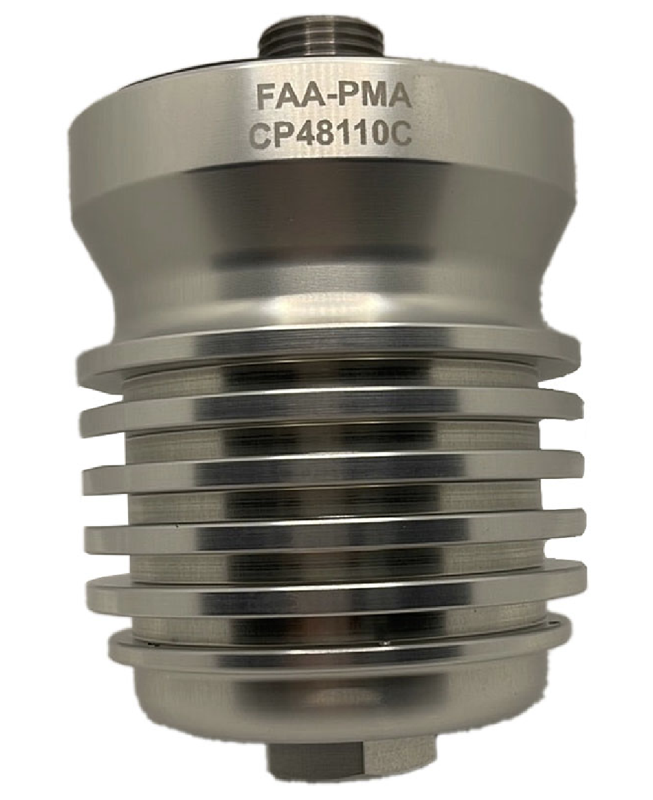
Actually, I’d planned to fit a Challenger CP48110C re-cleanable filter, but there have been supply issues with these as well … I’ve had an order in with Aircraft Spruce for several months, with a delivery still not expected until next month.
As you’ll see described in this post, there is no problem removing/installing the usual filters, but the fact that the Challengers are slightly smaller will help.
Oil Change

We’ve fitted a SAF-AIR Oil Drain Valve P5000 to make oil changes a bit easier. There have been reports of similar types of valves leaking, but so far so good with this one … it certainly helps controlling the flow of oil out of the engine.

It’s best to drain the oil out of the engine having just flown so the oil is hot. The reason for changing oil when the engine is hot is to avoid the settling of dirt and water in a cold engine. When the engine is fully warm when it is drained, a higher percentage of contaminants is drained away with the old oil.
A container big enough to carry 6-7 US Quarts is needed …
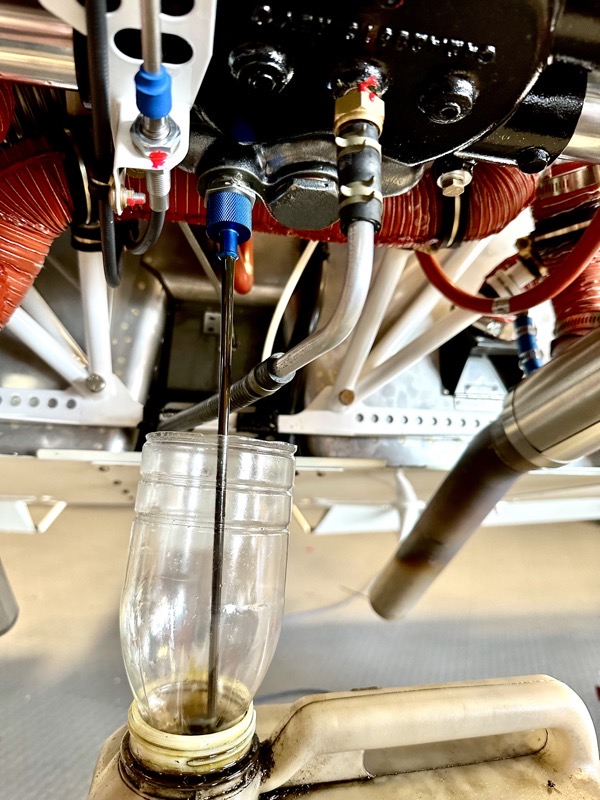
… the SAF-AIR Oil Drain Valve makes it all a bit easier.

I’ve been collecting a sample at each oil change, and sending it to Blackstone’s in the US for analysis.
They produce a useful report as seen on the left … click the image to download the PDF if you’d like to see more detail.
Oil analysis reports should be regular so that any trends can be highlighted. Individual reports are not useful.
The sample should be taken mid-stream (just like your aviation doctor advises!). Again, the SAF-AIR Oil Drain Valve helps.
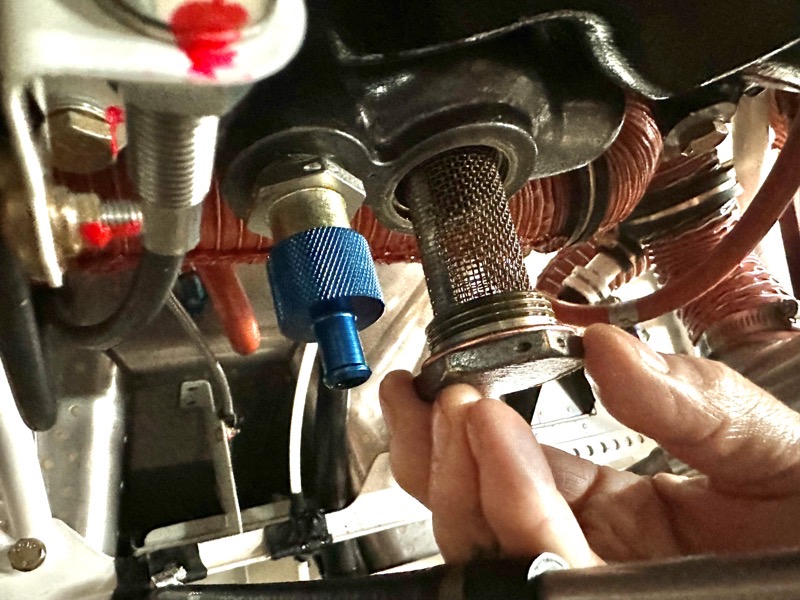
Removing the screen filter to check for debris requires a …

… big spanner! 1-1/2″ (1.5″) to be precise.

When replacing the screen after cleaning, a new crush washer is needed, which in the IO-390-C Series Engine Illustrated Parts Catalog is unhelpfully listed as “06E19769-1.25, GASKET, Annular, 1-1/4 I.D.”
This is actually a AN900-20 (MS35769) COPPER GASKET.

Be sure to check your engine’s catalogue, since I think the IO-390-A engines (non-EXP119) have a 1″ ID gasket?
The gasket is orientated with the open seam against the engine sump.
Then the screen is nipped up about 2 flats.

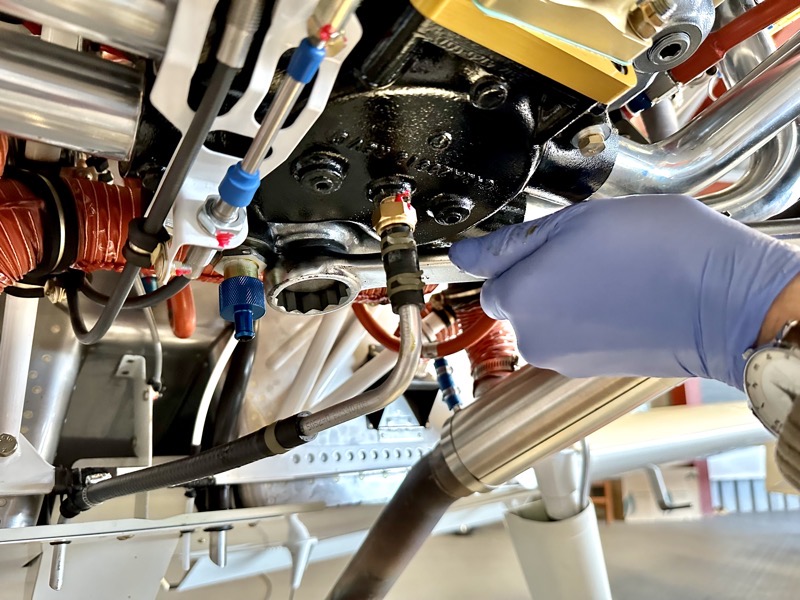
The hex on the rear of the oil filter is 1″.
As you can see, space is tight around the filter, especially if you have a standby alternator on the rear accessory drive.
However, there is room to unscrew the filter, move it back, and then in our case, drop it down the rear of the engine.
The question is:
“How to achieve this intricate manoeuvre without spilling oil everywhere?”
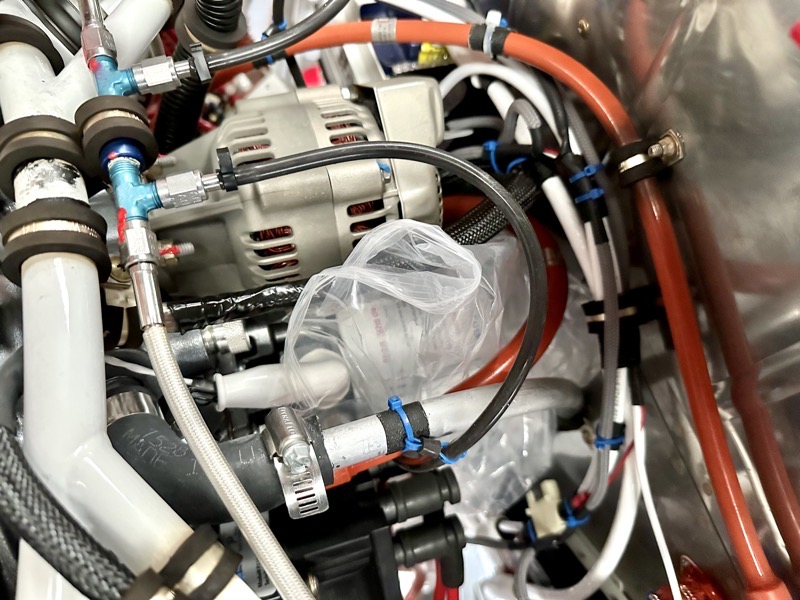
One solution is to wrap a sturdy plastic bag around the filter, tucking it well up at the front.
After gently unscrewing it inside the bag …

… once it becomes free, it can be carefully lowered in the bag together with the oil seepage.
We’ve managed two of these operations with no mess at all … probably blown it for the next change having just boasted!
When planning your wiring and plumbing behind the engine, think about how you plan to get the filter out.
I did wonder during the build about fitting a remote filter system, but actually it’s not too hard doing this and I’m glad I didn’t bother with the extra pipework and bracket etc.

Once the new filter is screwed in place, it should be nipped up to 17 foot pounds. Oil filter torque wrenches are available which have this torque pre-set, and no doubt make it all a bit easier in the confined space.
I’m sure experienced engineers do it by feel, but I’m not in that category.
We wire lock the filter through the same little lug which is used to wire lock the oil temperature sender.
Checking the old filter

The old filter should be checked for metal, and so needs to be cut open. Our friendly engineer at our airfield has a cutter, so this job was made easy.

After removing the filter material …
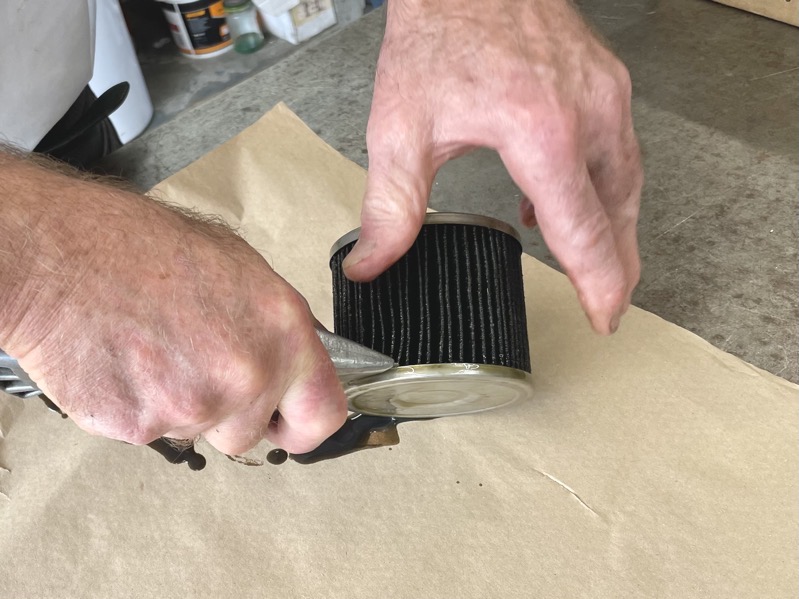
… it can be cut away …

… and then carefully checked for metal particles etc.
After a clean bill of health, all that remains is to refill the engine with 7 US Quarts of oil.
Once the new filter is filled, this leaves about 6 Quarts indicated on the dipstick, which seems to be an optimum level for the 390-C.
We like to start the engine soon after all this is done, with a careful eye on the oil pressure gauge to ensure oil pressure promptly rises within the time limit.
After checking for no oil leaks, the cowling can be replaced for some more fun! : )


3 comments on Oil Changes
I happened across your web site not because I am building a RV but was looking to utilise a Vans sender manifold, P/No VA168, and Google brought me here. I was looking for a better way to mount the oil pressure and MAP sensors for a JPI EDM 900 engine monitoring system installation in my Cessna 182.
I then spotted that you had a SAF-Air self sealing oil drain and also had oil sampling. I have a SAF-Air on my engine and instead of trying to catch oil using a funnel I use a length of silicone tube. The initial stream of engine oil is easy enough to catch in a funnel but once it becomes a trickle then any draught in the hangar blows oil anywhere but into the funnel. Because of the nature of silicone tube it’s a tight enough fit not need any form of clamp but easily removed when the oil has drained. It also means that the waste oil container can be on the floor instead of having to perch it under the sump.
I also noted that you used Blackstone for oil sampling but thought I would share with you an alternative in Batley.
Fluid Analysis (https://www.fluid-analysis.com/) are part of Finning, the largest Caterpillar equipment dealership).
Understandably they test construction equipment fluids of all types but also such as transformer oils. I have been using them to test engine oil for the past 9 years. The test kits used to be about £16 when I first started with them but have since gone up to about £30. But that includes a 1st class reply paid postage bag along with the sample bottle. All test results are stored on their user accessible online system but they also e-mail you the test results.
As oil samples cannot usually be taken after the exact same number of engine hours each time I produced a spreadsheet that utilises the engine hours for each sample to calculate the PPM per hour which provides a much more accurate tend analysis as obviously the more engine hours the oil has on it, the higher the PPM.
Happy to send you the spreadsheet to save having to build one, if it’s of any use / interest to you.
Steve, I always enjoy your website and again learned with your great hints.
Regarding oil changes, I’ve found AntiSplatAero’s https://antisplataero.com/product/asa-ez-oil-filter-drain/
works well. At my hanger I only have a small/low volume pancake air compressor but it’s enough to blow the oil out of the filter. I do put a piece of tape over the hole the tool creates in the side of the filter. But then I can unscrew the filter and tilt vertical and remove it out the top. Last time, it was pretty near drip free. I now have 40 tach hours and coming up to my first condition inspection at the end of November. Fingers crossed
Glad you are enjoying your plane, and thanks for the tip. Cheers Steve