18-06 Attach Brackets & Inboard Rib
Attach Bracket
More masking to keep that Proseal under control!
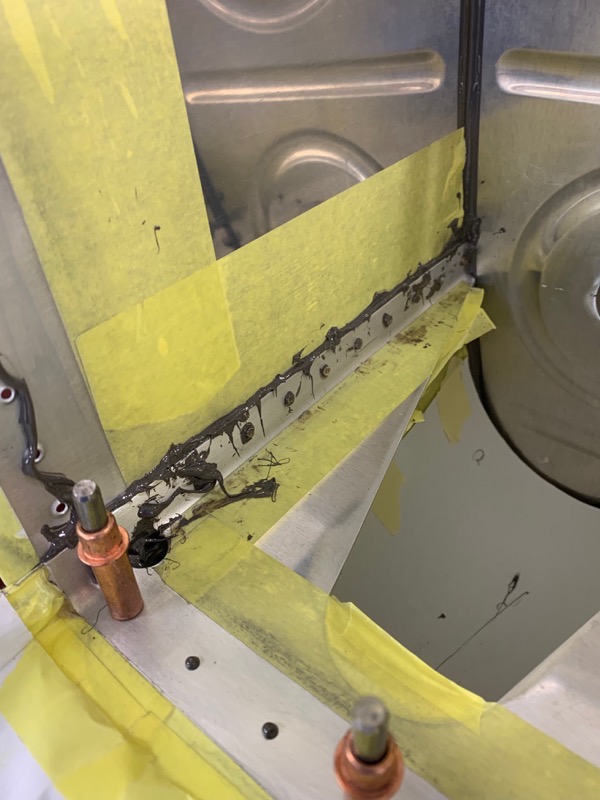
After smoothing out the layer of sealant on the Attach Bracket flanges, we laid down a bead on the bottom edge, so as to form a good fillet underneath as the bracket was pressed down into place.
Inboard Ribs-Aft
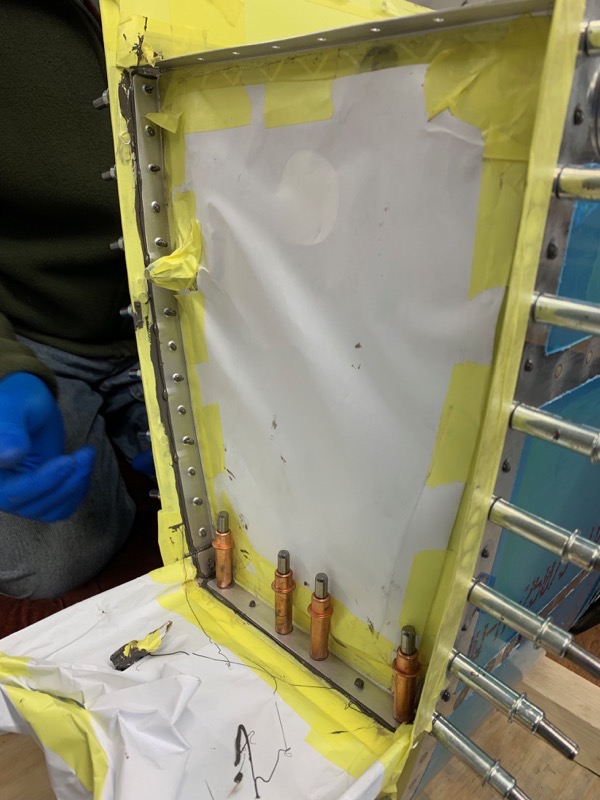
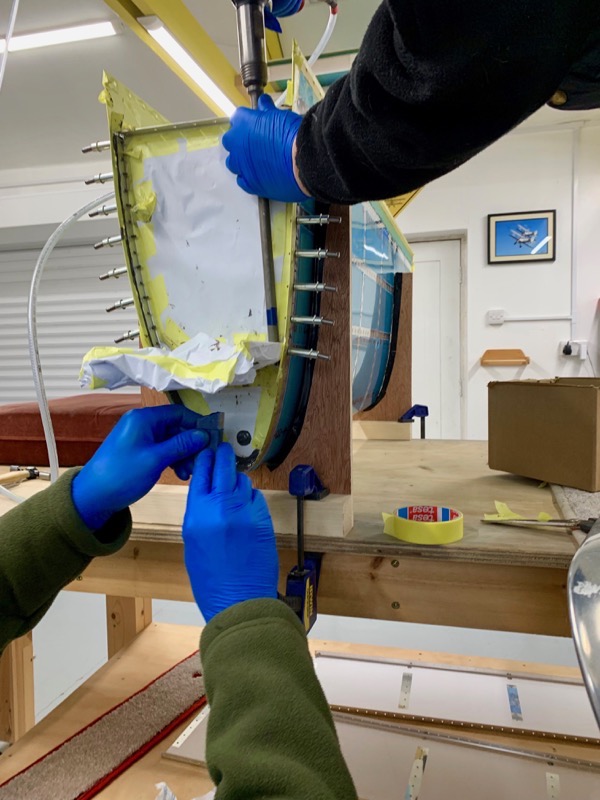
After riveting the Attach Bracket the next job was to rivet the aft rib.

We used a long 1/8 rivet set on the gun to get a straight push on the 470-4 rivet machine heads. We were a bit worried about setting these rivets, but it worked out very well.
The corner rivet needed the angled edge of the Tungsten Bucking Bar.
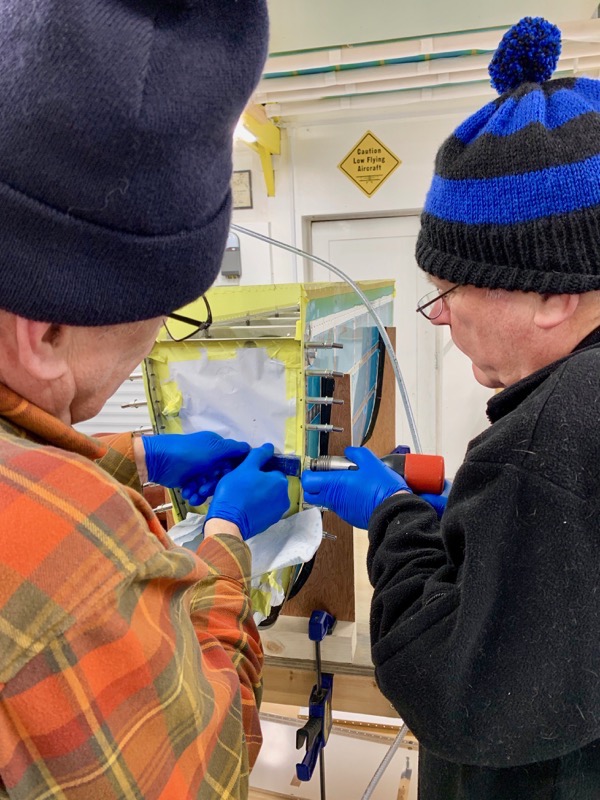
Since the gun was working well, we set the remaining 426’s with it as well. These could easily be squeezed.
And yes, it was cold … stylish woolly hats on display!
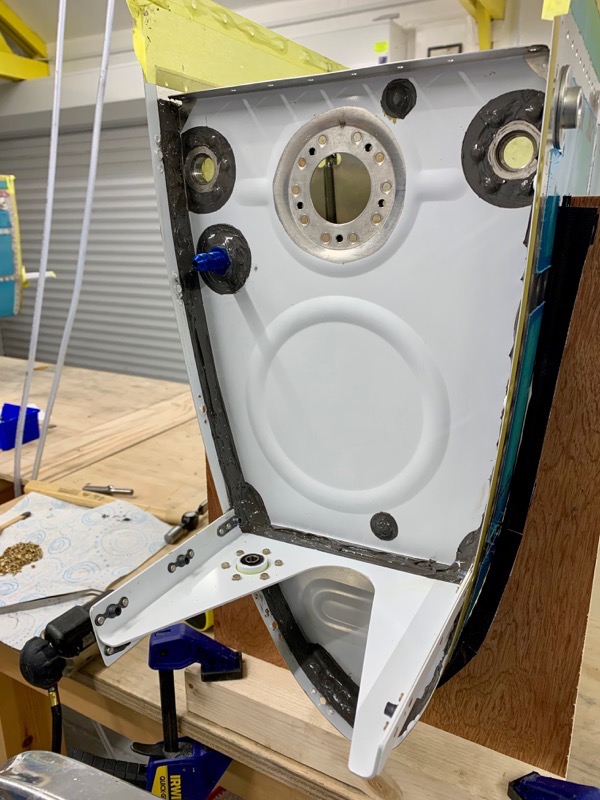
Masking Removed

Once the sealant was partially set I made sure the little hole in the bracket was completely free of sealant.
Might need that bit of fuel stuck behind the bracket one day!
Again, once partially set, I made sure the sealant was clear of where the Nutplates will be attached.
We applied a generous fillet of Proseal in the corners, both inside and outside, top & bottom of the attach bracket.
We used about 120g of sealant per tank for the attach bracket and aft rib, allowing for the fillets etc.
There was just enough time to get each tank completed in a 2 hour window. Allowing for preparation & cleanup it was about a 3 1/2 hour job per tank.