


21-06 Dimpling
As always, lots of dimples.
I gently scuffed the holes prior to dimpling ready for priming … I find it easier to do at this stage.
But you have to remember it’s probably normally a good plan to scuff just prior to priming, due to oxidation of the aluminium??
The DRDT2 made easy work of the main skin dimples.
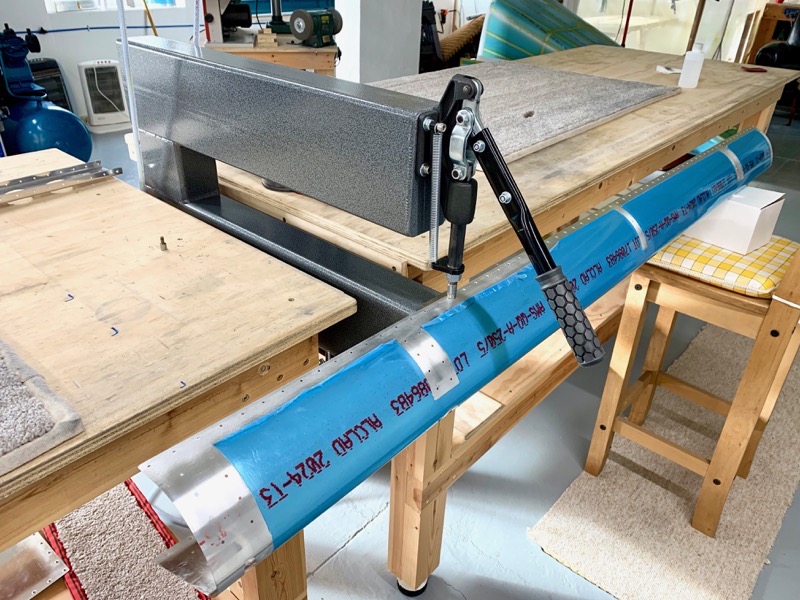
I also managed to get the DRDT2 onto every hole on the nose skins … I used a reduced diameter female dimple set on the curved areas.
Being able to move the DRDT2 out beyond the bench edges to provide access has paid dividends on numerous occasions.

I used the squeezer with a reduced diameter female dimple set for all the rib holes.
A few tabs on the main ribs flexed just slightly during dimpling due to access issues, but it was a quick job to gently coax them back to the correct position.
Again, a reduced diameter female dimple set for the spar flanges.
Priming the parts next!


2 comments on 21-06 Dimpling
Hi Steve, I was fortunate to find your web page a few months ago. I’m building the RV-14A, and the description of your work is of great help to me. Your work is fantastic, I really appreciate your willingness to share your experience. I plan to install GARMIN same as in your plane, use Stein Air to purchase the system, but as you, I will do the wiring myself. So, I will have a few questions in the future.
Gus
N996US RV-6A flying since 1999
Hi Gus
Good luck with your build. See https://vansrv14project.uk/documents/ for the STRV Electrical Reference Manual, which depicts the wiring connections for the whole aeroplane. It has proved correct and robust during operations.
Best regards
Steve