21-06 Match & Final Drilling
After the Trailing Edge is clecoed in place, it’s final drilled. Vans recommend that the drilling is done at 90º to the chord line, which works out as being 84º to the skins.
So I cut a wooden block with the correct angle and used this as a reference as I final drilled.

Then a couple of holes on each nose rib are match drilled.
Flap Hinges
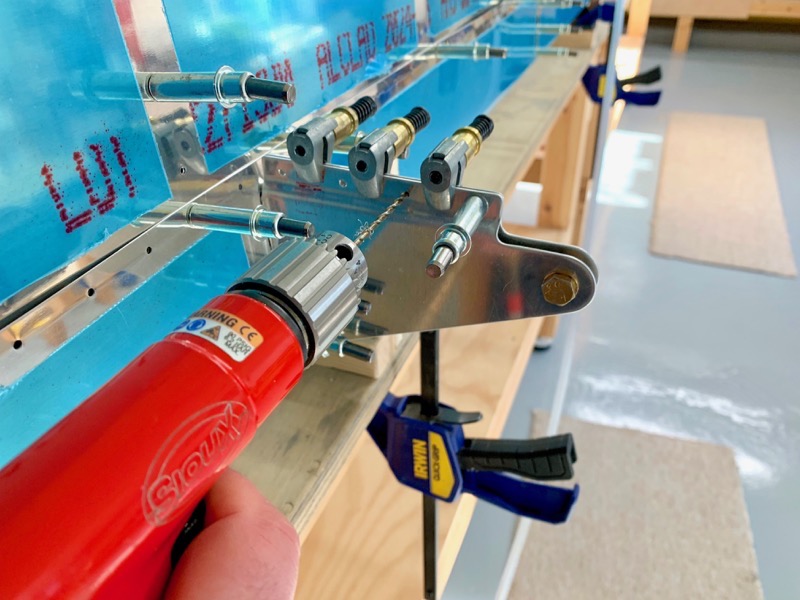
One side of the Flap Hinges do not yet have any holes, so these are match drilled. Vans suggest inserting the attachment hardware into the hinge point to ensure alignment. Top idea I reckon.

I had to use a flexible 12″ drill bit to get access to the holes nearest the skin.
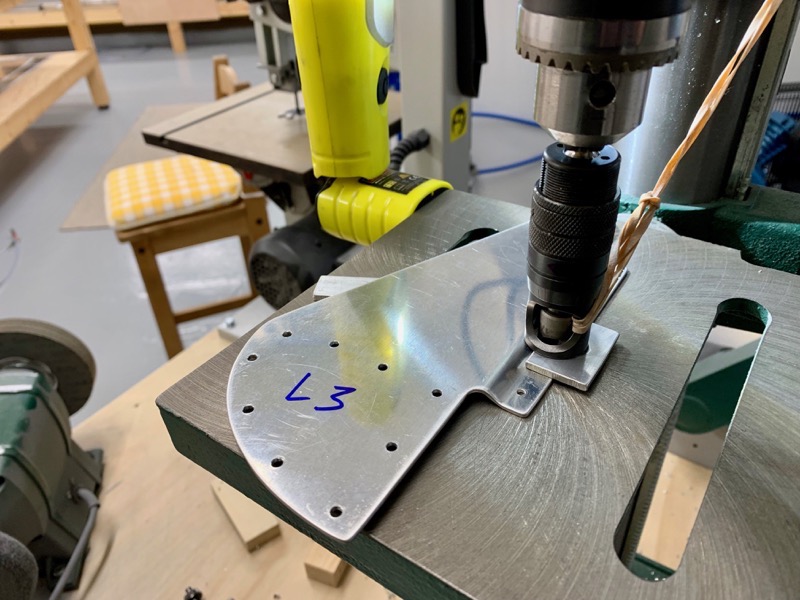
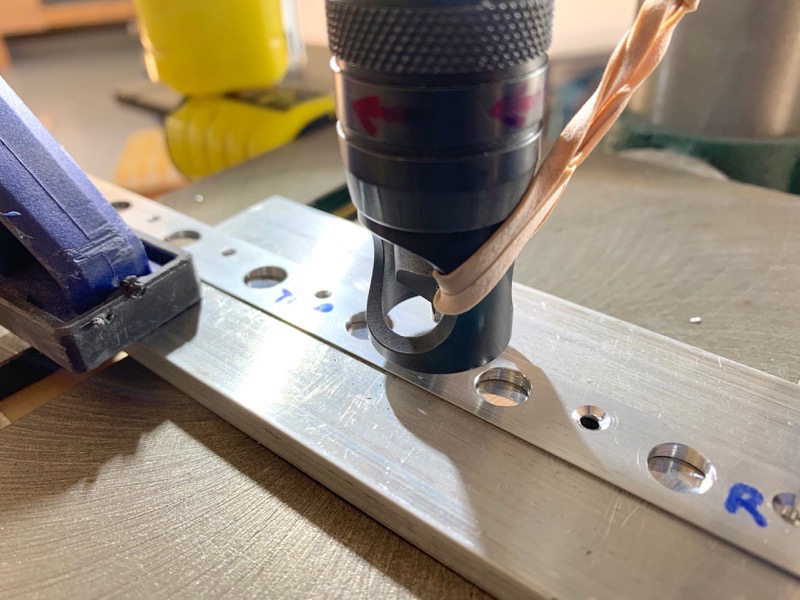
The flanges of the hinges are machine countersunk for a flush 426-3 rivet.
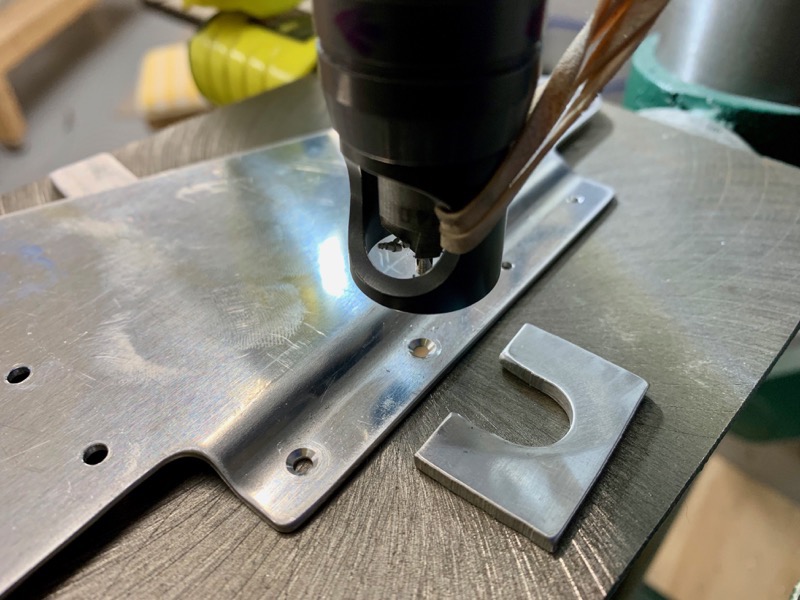
I made the suggested drill jig to enable use of the countersink cage.
But I had a goof on this bit … after a day of goodness knows how many countersinks, the jig slipped on one of these holes and before I could stop myself the bit had cut far too deep … Foohey Foohey Fudge Cake!!!
So I need to get advice on whether it’s acceptable or not … but I can feel a new FL-1007-R getting ordered : (
Breaking Bad

Although it’s not mentioned in the manual, I decided to “break” the skin trailing edges. I did this on the rudder & elevators, and it seemed to work out pretty well.
I needed a clear head to make sure I’d got the correct edges … it would be easy to make a mistake since the skins are all very similar!
TE Countersinking
I used the Cleaveland TE Jig to keep the faces of the TE angle horizontal, clamping it down. This made this repetitive job much easier, since the angle just needed sliding along to the next hole etc.
I machined to a flush rivet plus 0.007″ as per Section 5 advice.