


22-05 Drilling the Aileron Counterbalance
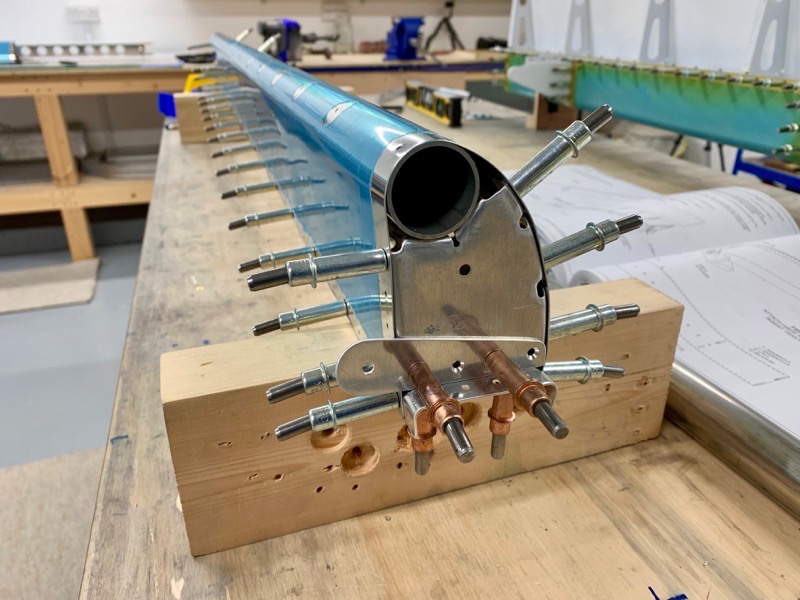
The nose ribs, spar and nose skin are clecoed together whilst positioning the stainless steel counterbalance in position.
I found that Vans had supplied the tube already cut to the required length, so that saved a job!
I attached the bottom of the nose skin first …
… and then bent the skin around the top, clecoing up the ribs as I went. I did this because I found the skin needed considerable force to position.
Make sure the tube is aligned perfectly at the end or you’ll have to take the top clecos out so that the tube can be moved!
Yes, I had to.
As I clecoed I made sure the structure had no twist by sitting on parallel blocks.
Then just the two end holes are match drilled to anchor the tube.

After taking off the rear spar the bottom holes in the rib tabs are match drilled.
Then I took out the clecos from the top of the nose skin to give enough access to mark the top tab holes.
Vans suggest a long drill positioned through a gap in the rib flanges, but I found this difficult to achieve without moving the rib slightly. But once marked I just made sure the hole mark was perpendicularly above the first hole, and this seemed to work fine.
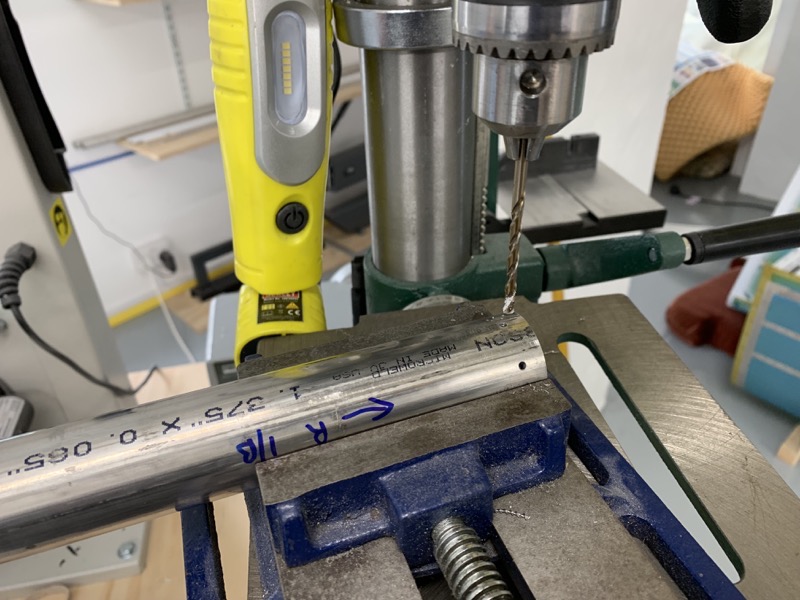
The holes in the tube and rib tabs are then final drilled with a #27 … I clamped the tube and used a drill press.
I drilled the marked holes with a #40 first.

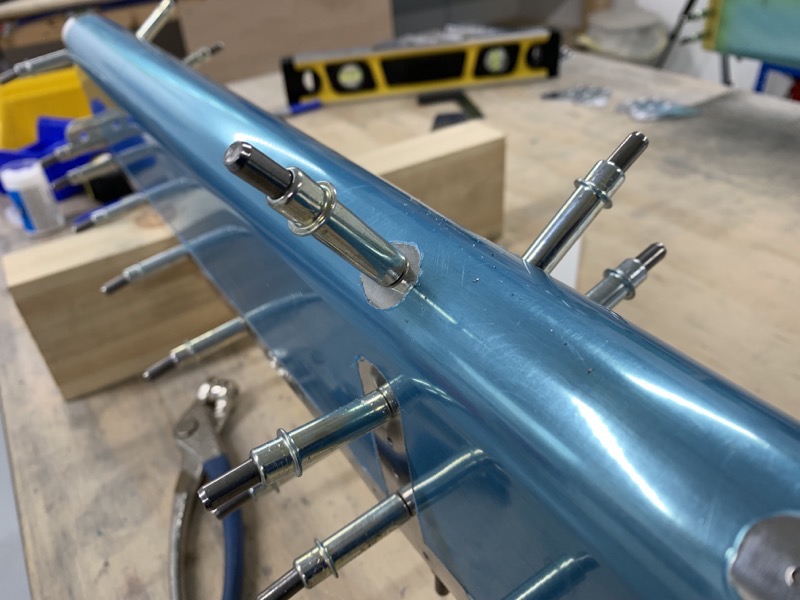
I used temporary bolts, the same size as the stainless steel bolts/nylocs that will be used in final assembly, to attach the ribs to the tube.
Vans mention you might need a 90º screwdriver to tighten, but I found the heads gripped just fine and the nuts nipped up enough to secure.

Then the structure is re-assembled so that the remaining holes in the tube can be match drilled.
Once again I made absolutely sure there was no twist … I think if the tube is drilled with residual twist at this stage it might cause problems later on???
I used a dowel with sandpaper wrapped around to remove the burrs inside the tube.


