


Nutplates, Stiffeners, Rudder Stops & Cables 10-20 &10-21
Nutplates
The nutplates are dimpled, though not as many as Vans say in the manual on page 10-20, since the two at the top of the plate cover hole are attached to the longeron. Probably a test to see if you are paying attention. I wasn’t, so now have 4 extra dimpled nutplates … I’m sure I’ll find a use for them later. I used the reduced diameter dimple set both for female & male since after a trial I reckoned this combination produced the least deformation in the nutplate.
Used the squeezer for most of these rivets, but bucked the ones on the aft side of the bulkheads due to reduced clearance.
Vans don’t include the front 2 nutplates on each side, saving them until the Fairing Attach Page 12-12 Step 4. This is because the holes in the fairings at these places are “blind-drilled”, using a light through the open holes in the nutplate locations to locate.
I missed this, and riveted the nutplates in question, though I was bright enough to leave the front one’s front hole, since this rivet includes the top side skin later.
Even having discovered the reason for leaving them, I reckon I can cope with drilling a smaller location hole through these locations, so I’m leaving them for the time being. The top skins have a similar instruction, but I’m suspicious it may well be less hassle to fit the nutplates now and carefully blind drill with a very small drill when it comes to fitting the fairing. Hmm, we’ll see …

I can now confirm that it was no problem to fit the fairing having already installed all the relevant nutplates. It was much easier to fit the nutplates with better access.
See this topic which explains how I “blind-drilled” the fairing with the nutplates already installed.
28 June 2023
Rudder Stops

Some builders advocate fitting the stops prior to the diagonal stiffeners due to the stop causing restricted outside access to a stiffener rivet at the front bottom of the stop. We looked at it, and reckoned we could do this and still get a bucking bar on the front bottom stop rivet. So that’s what we did, and regretted it to be honest. In hindsight, and with experience applying a gun flat set outside on the rudder stop top rivets, I reckon it would be much easier to follow the manual’s advice and do the stops first.
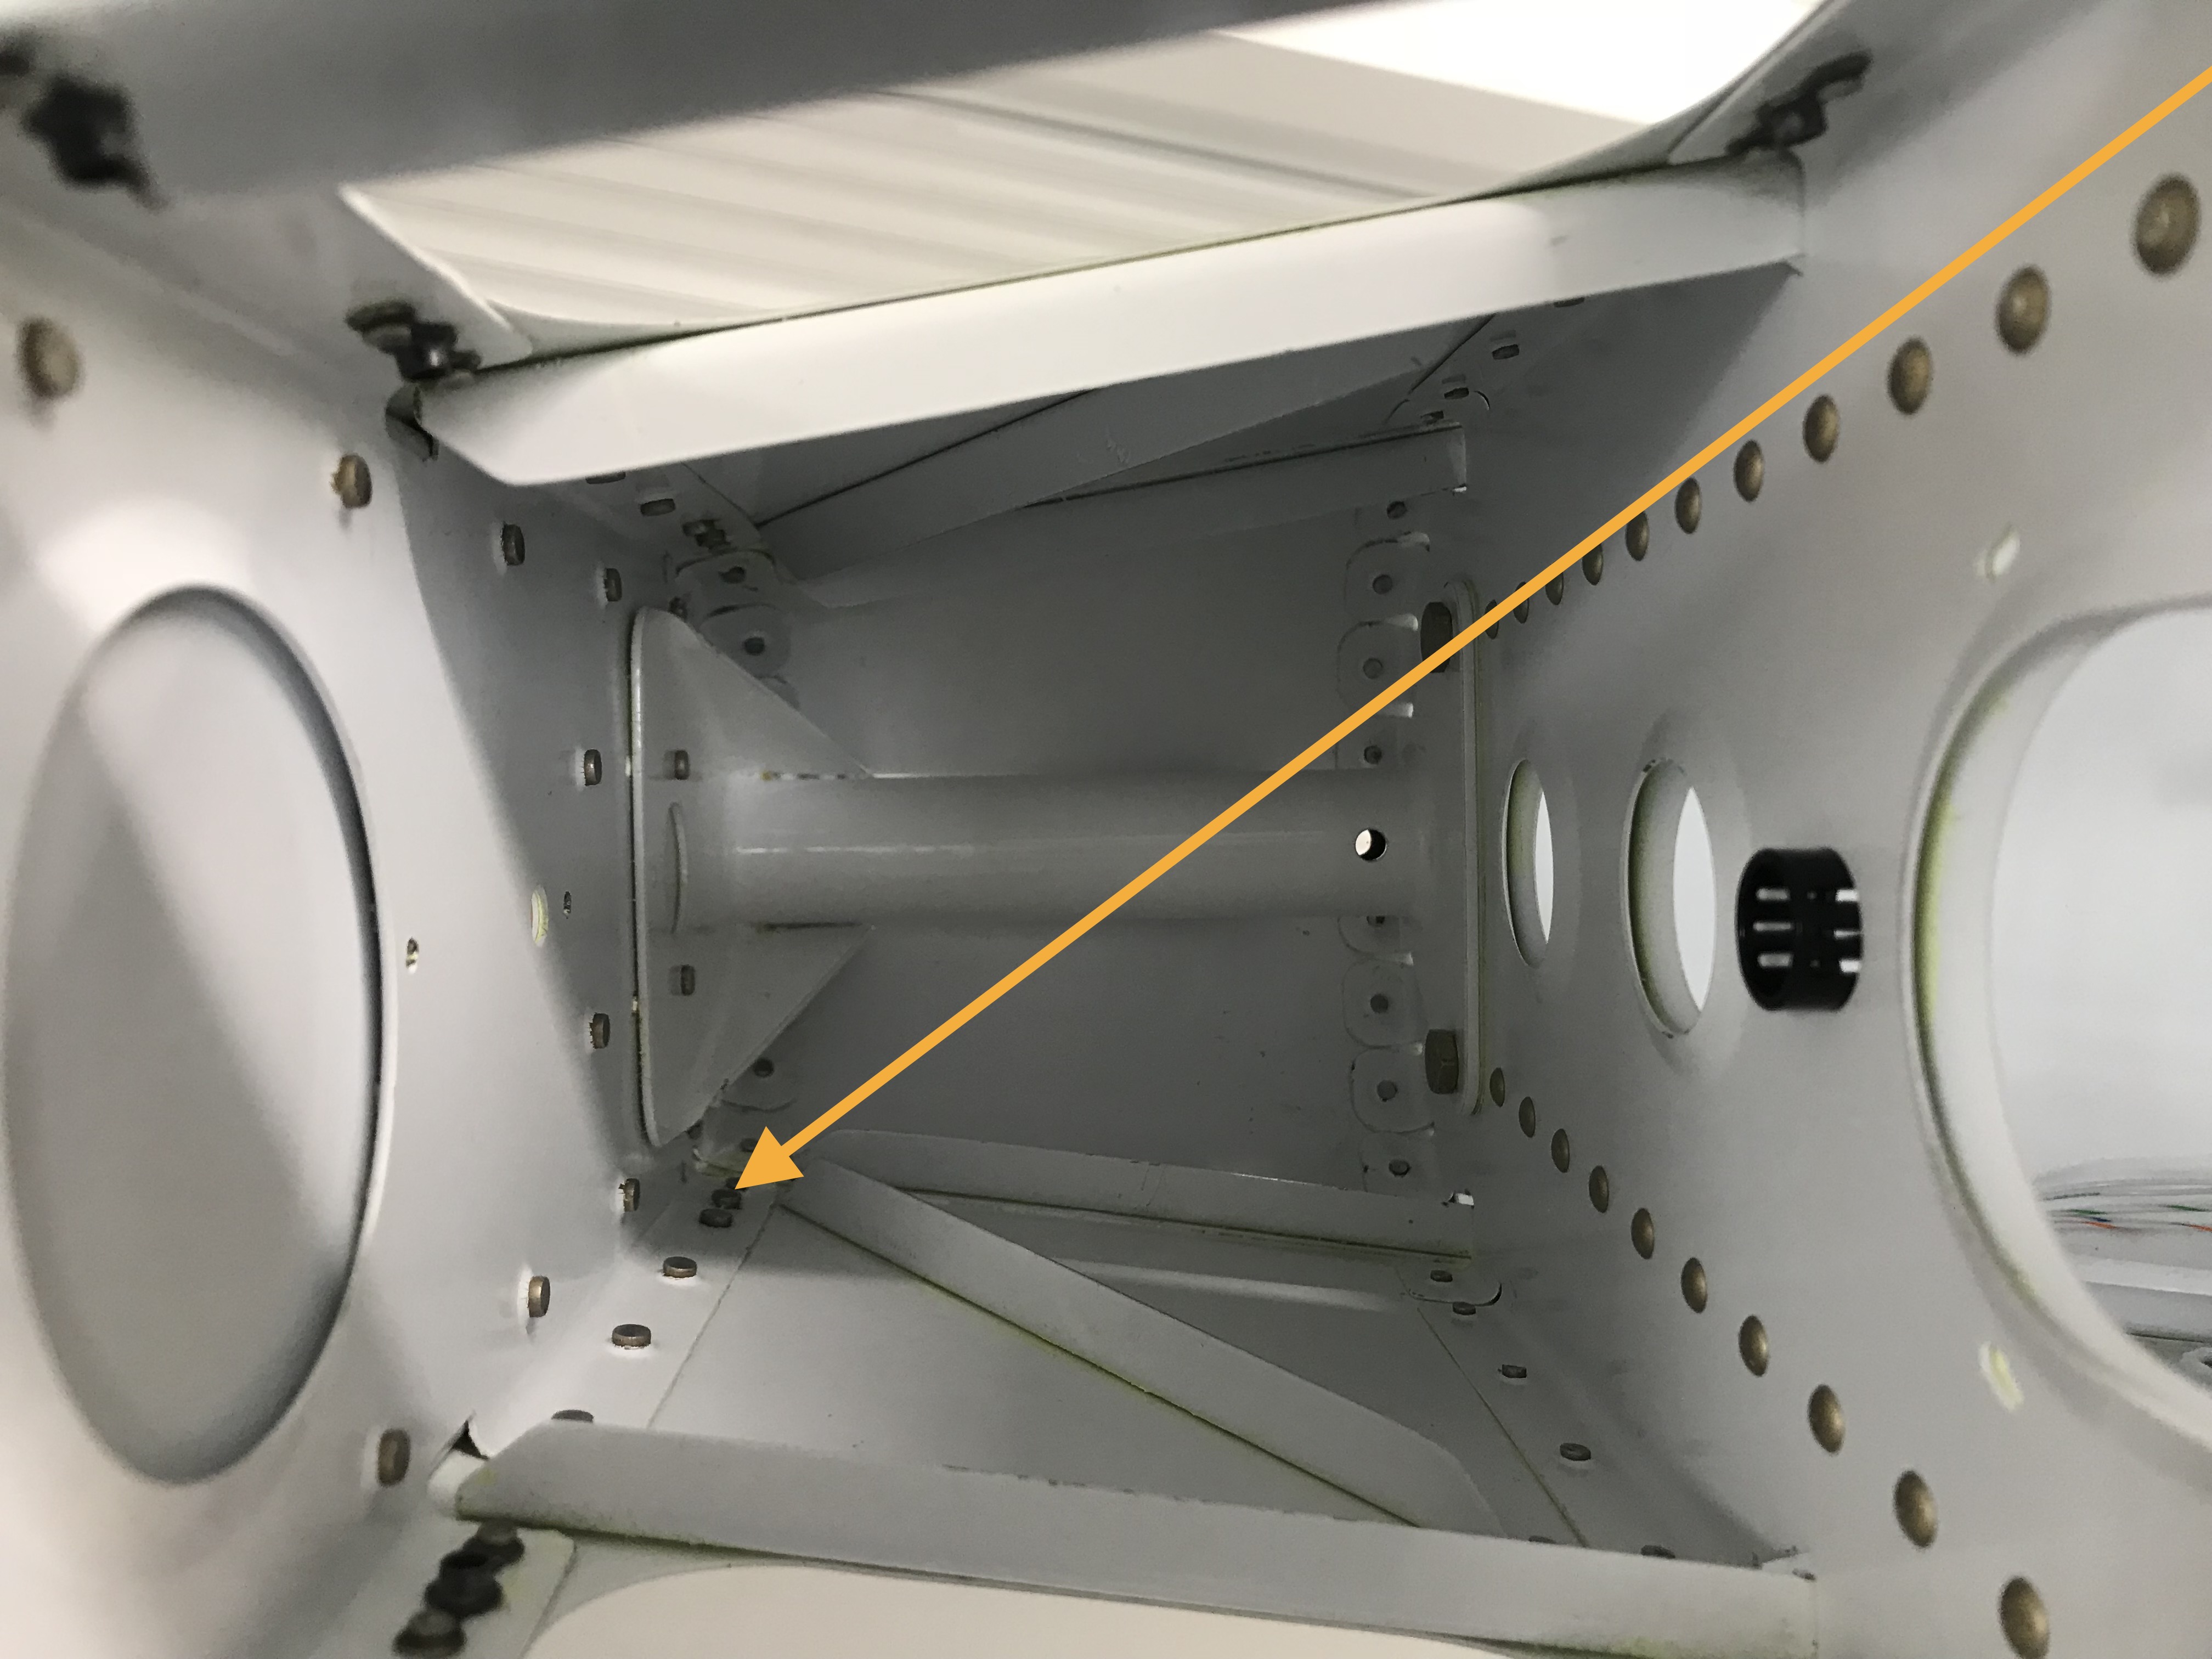
As you can see in this picture, the stiffeners make it very hard to get a suitable bucking bar on the rudder stop front lower rivet………….
All the rivets were bucked . We were tempted to try the squeezer on the ones behind the aft face of the rear bulkhead, but only the thin nosed yoke would get anywhere near. I’m not a great fan of this yoke, since it flexes and I’ve had some squirrely rivets using it. So we decided to buck these as well.
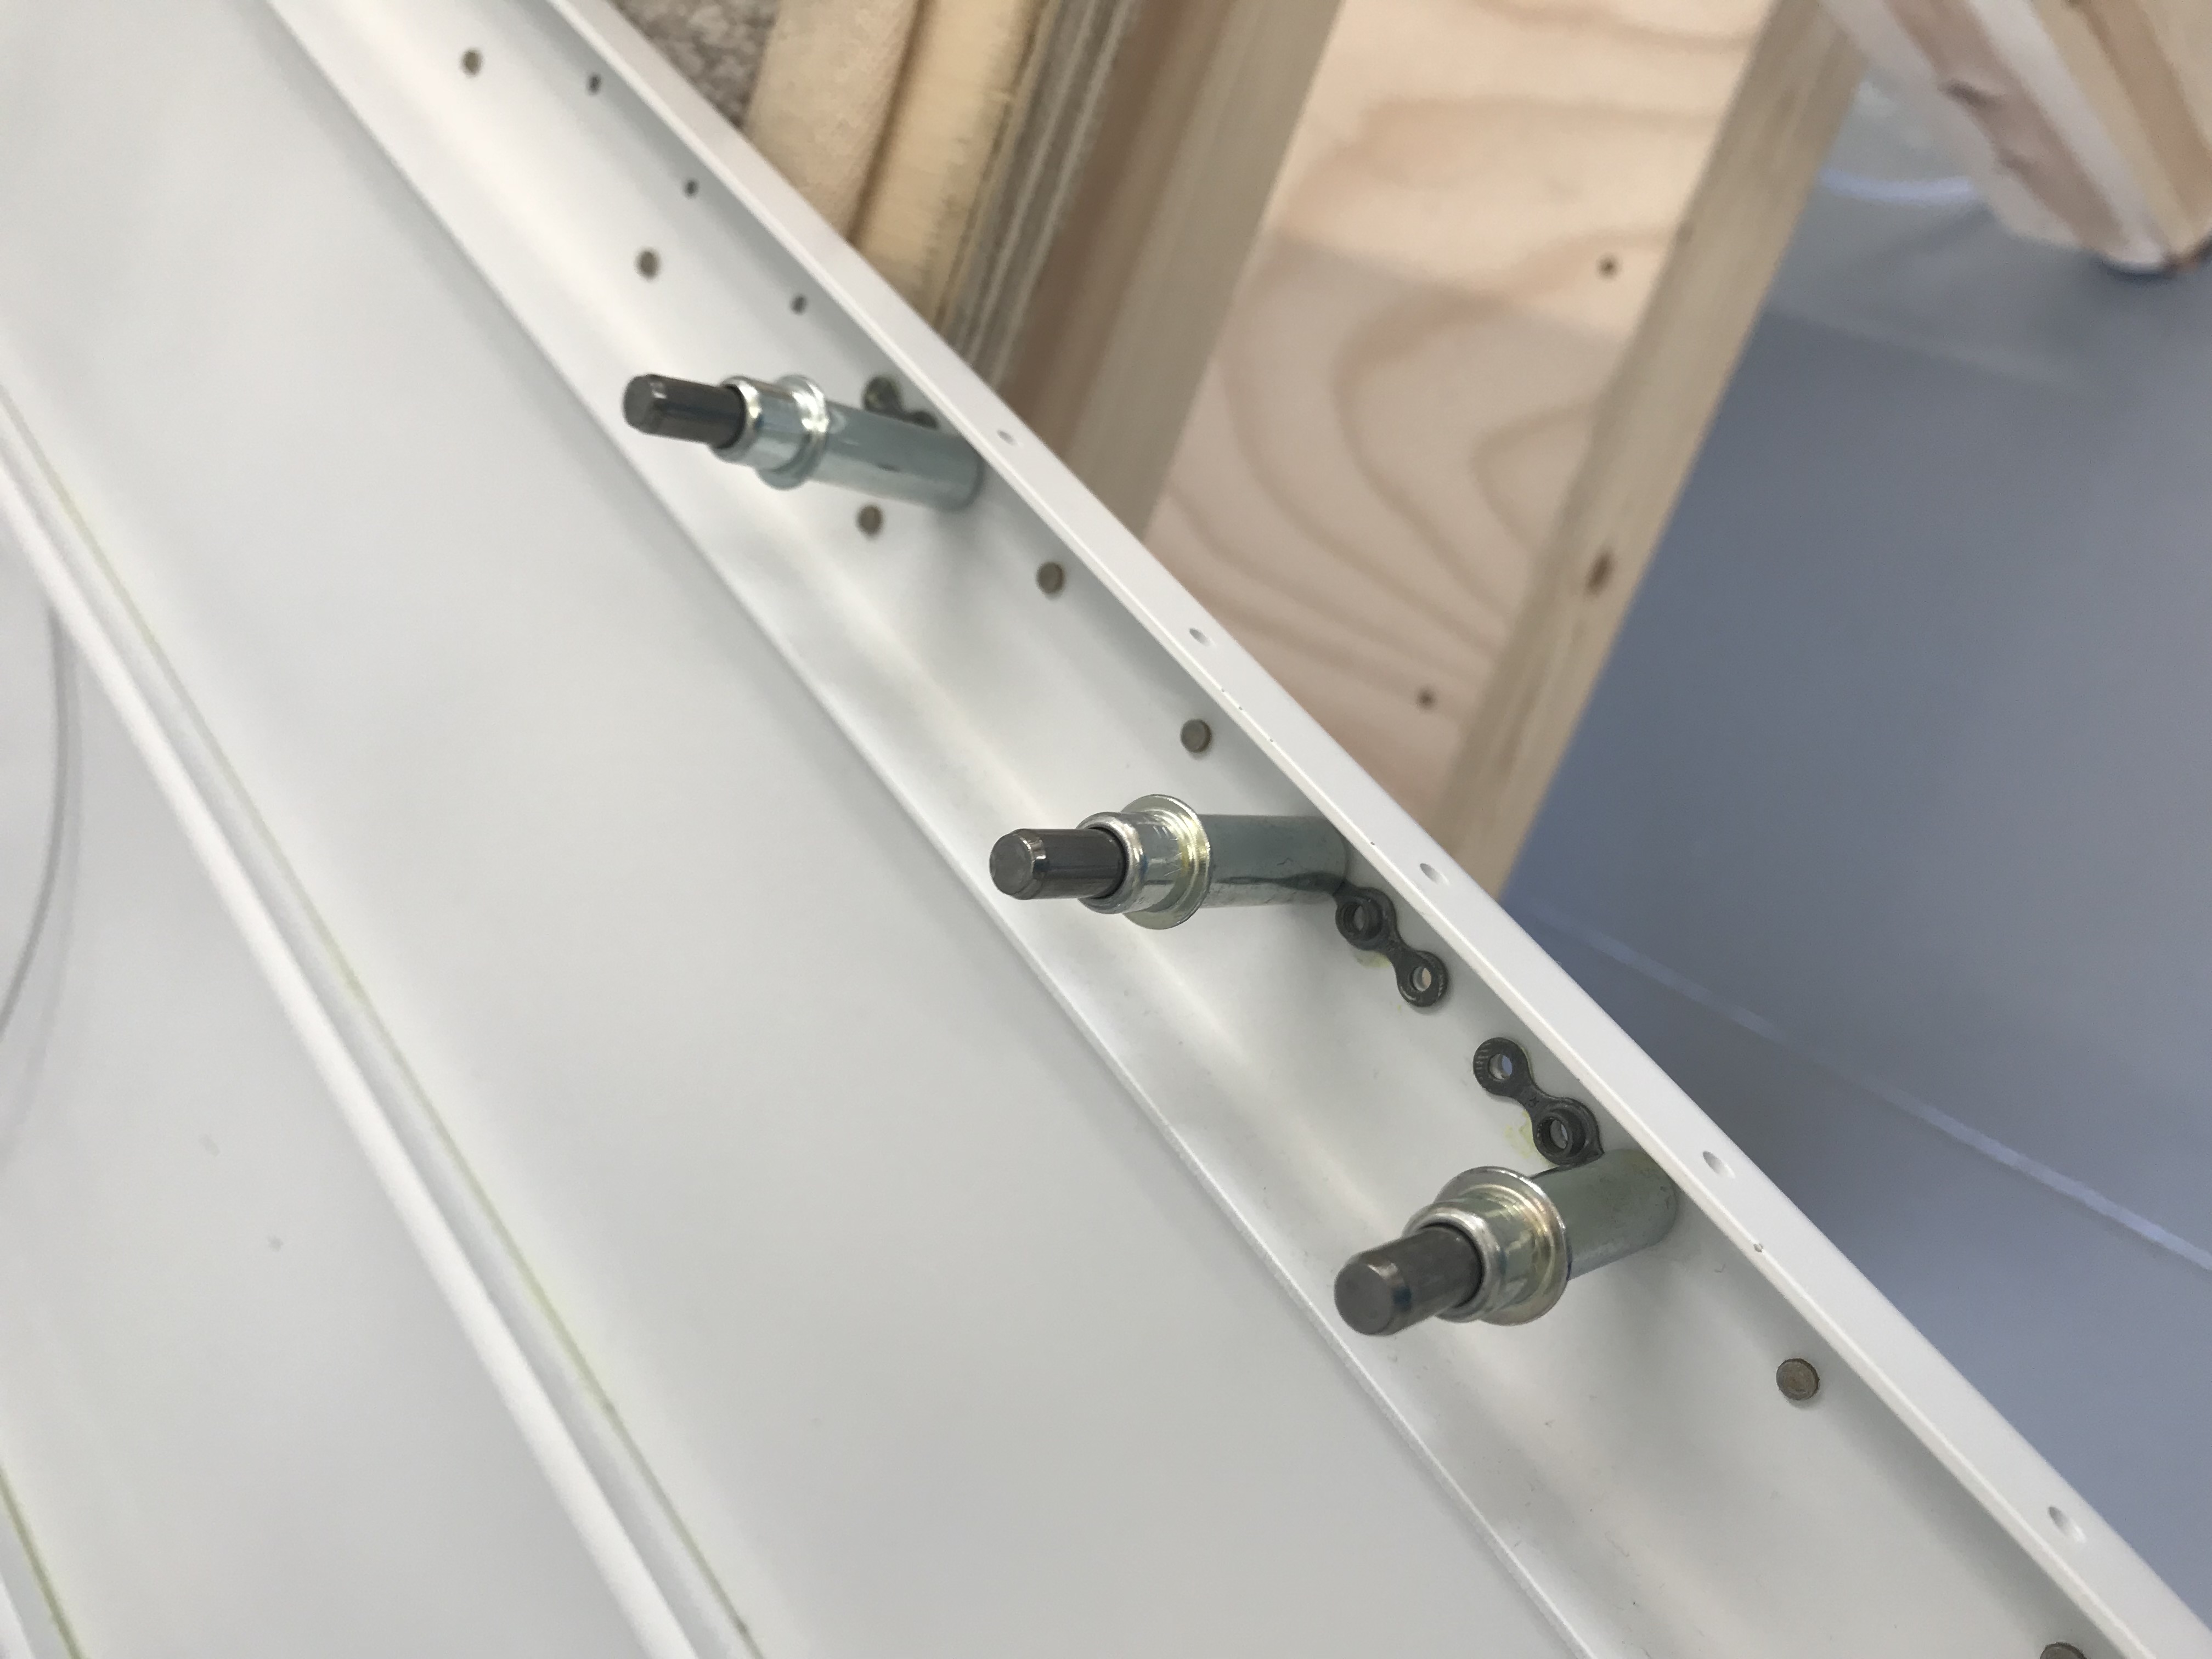
The rivets at the top of the stops have restricted access outside, so we used the Cleaveland C-Frame Bench Riveting Tool Base Set Holder with a small flat set on the end.
This proved successful, and would be the better option for that problem stiffener rivet.
Rudder Cable Exits
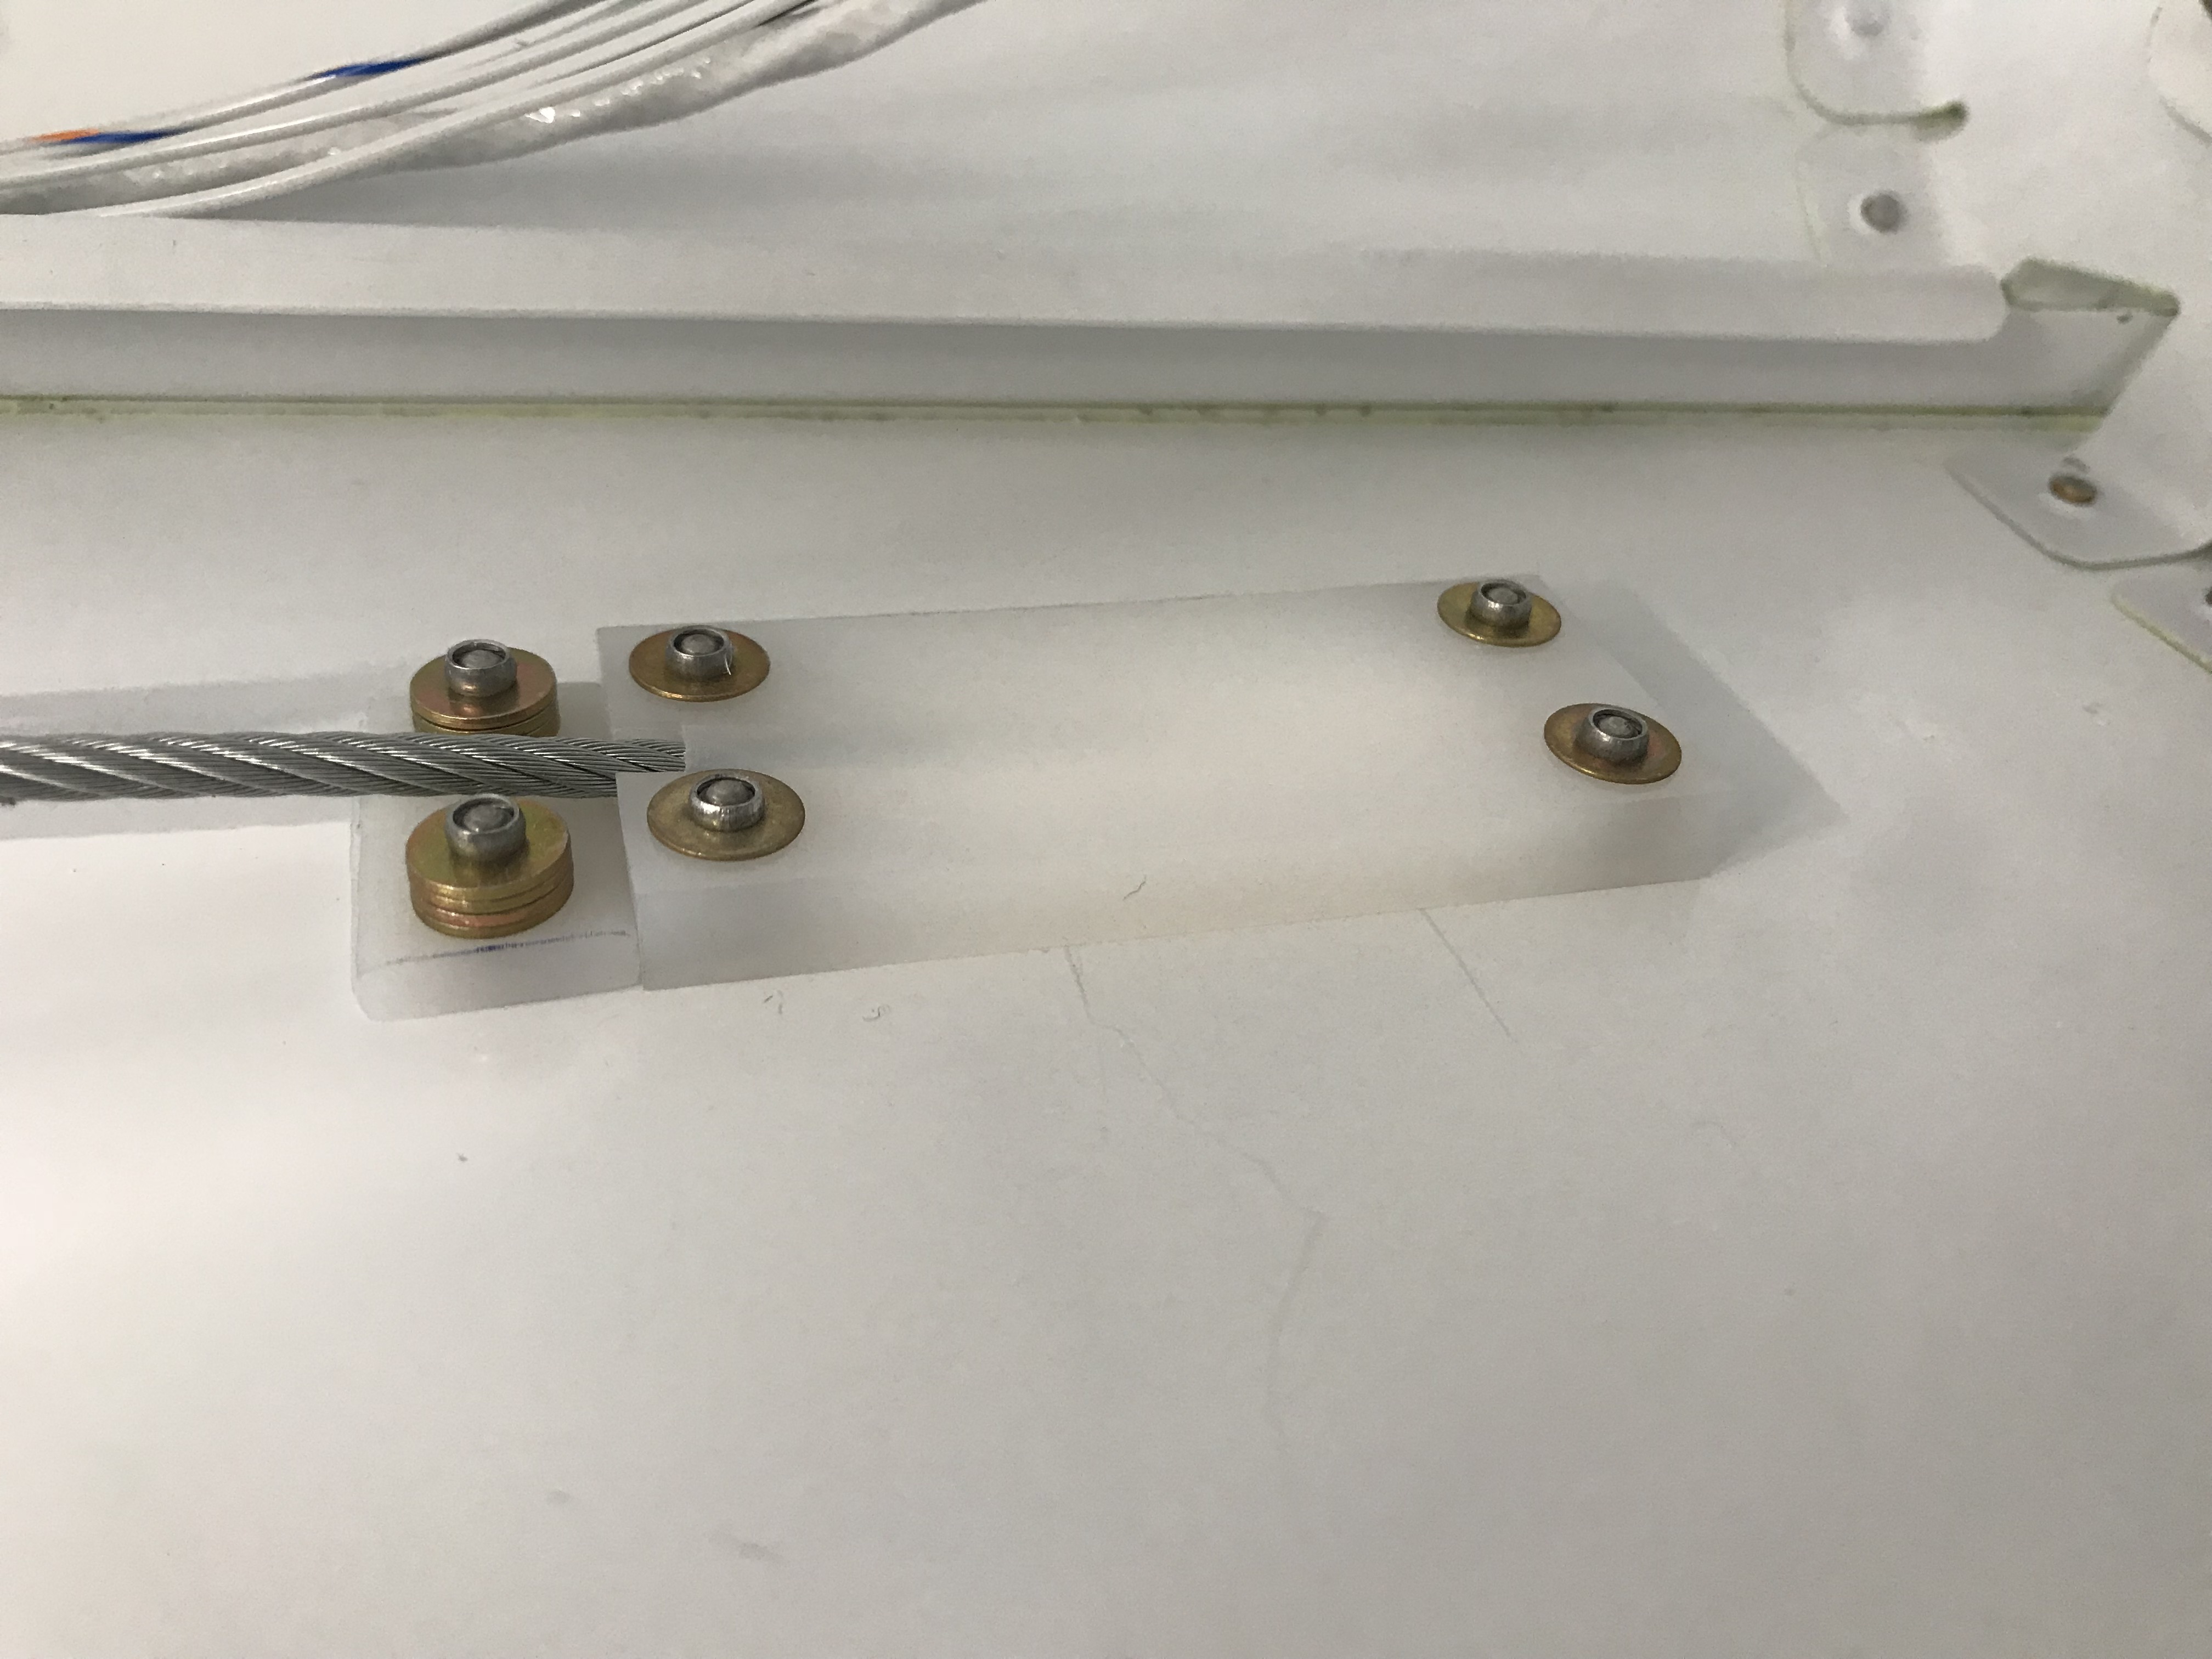
Attaching the nylon blocks inside the rudder cable exit holes should be straightforward … but there is a well highlighted issue with the rivets in the thinner front block. Vans supply the same length rivet for all six holes, and builders have found that the front rivet stems break off outside the surface of the skin due to the reduced grip width. So I decided to use the same rivets, but add washers to the front ones to increase grip width. This proved successful with all stems breaking off inside the skin surface : )

Update 30 July 2018 – Be careful you orientate the rudder cables as in the picture below. I mistakenly installed the cables with the forked ends at the front originally, and had to change them! See this topic.


2 comments on Nutplates, Stiffeners, Rudder Stops & Cables 10-20 &10-21
This is the best build log I have found great work
Thanks Craig, glad you are finding it useful. Keep building, the plane is great!