38-37 to 38 Canopy Guide Pins & Final Touches – Canopy Finished!!
Canopy Guide Pins

One of the last jobs on the canopy is to install the Guide Pins.
The manual suggests you rivet on the pins before drilling the holes in the canopy deck, but I wanted prime/paint the various bits at the same time after match drilling etc.
I discovered that attaching the pins with clecos didn’t prevent the canopy closing enough to mark the modelling clay.

Luckily Coral had some modelling clay in her craft supplies!

Of course following the steps in the manual worked very well.
Marking a dot on the canopy deck at the forward edge of the depression produced a hole in exactly the correct place, as proved later.

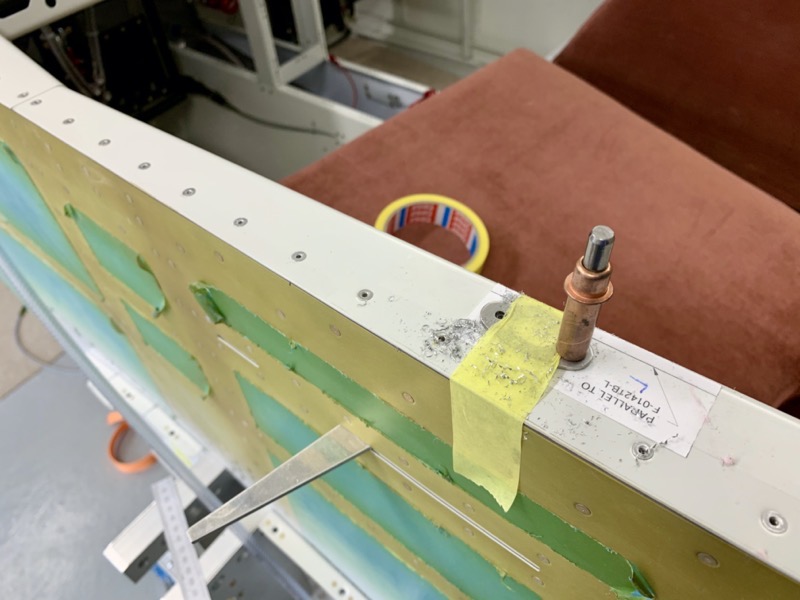
Take care to ensure that the canopy rail is perfectly aligned with the fuselage side!
It’s unlikely that this will be very wrong, but even a small error in positioning the guide plate laterally would spoil all the careful work to match the canopy rails to the fuselage sides.
I just used a straightedge to align exactly as I marked the modelling clay. And then I measured the pin centre to edge distance on the canopy rail, and double checked that the marks on the deck matched the lateral distance.

And then went for it by drilling the 1/16″ pilot hole!
The stainless steel C-01454 Guide Plate has been punched out, leaving a small burr around one side.
Normally I debur pieces first, but I discovered the small burrs helped to prevent the plate moving on the paper template whilst match drilling.
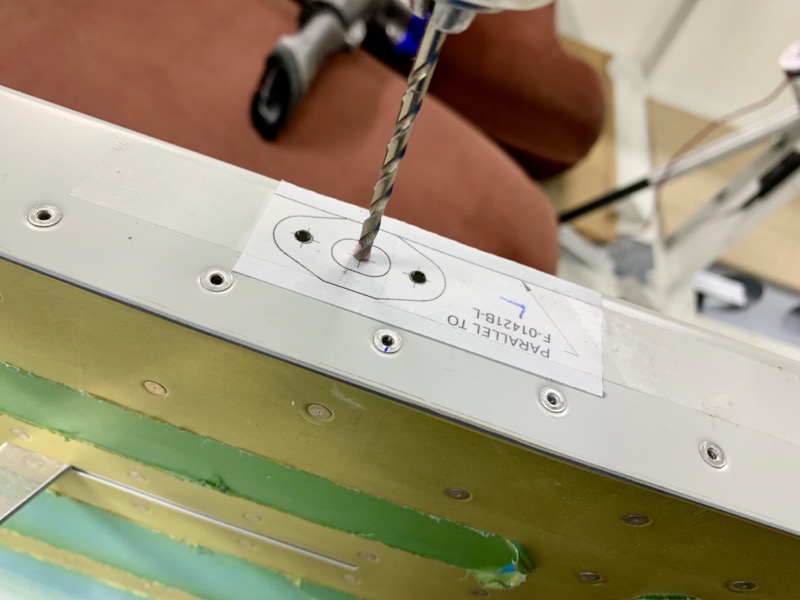
Once the plate attachment holes have been drilled, it was time to open up the pilot hole. I had to first drill it to 1/4″ to allow the first stage of my step drill bit to locate.

The hole is stepped to 1/2″ … quite big. This is to allow pin clearance along the fore/aft axis as the canopy closes.
The picture doesn’t show this, but I kept the template in place for this so I could check the step drill wasn’t wandering.

I primed the bare edges of the new holes before installing the Guide Plates.

The welds on the top of the Guide Pins were reasonably neat, but even after deburring they were uneven and not circular.
Since they are in full and constant view as you sit in the cockpit, I decided to use my new found composite skills and used body filler to improve their look.
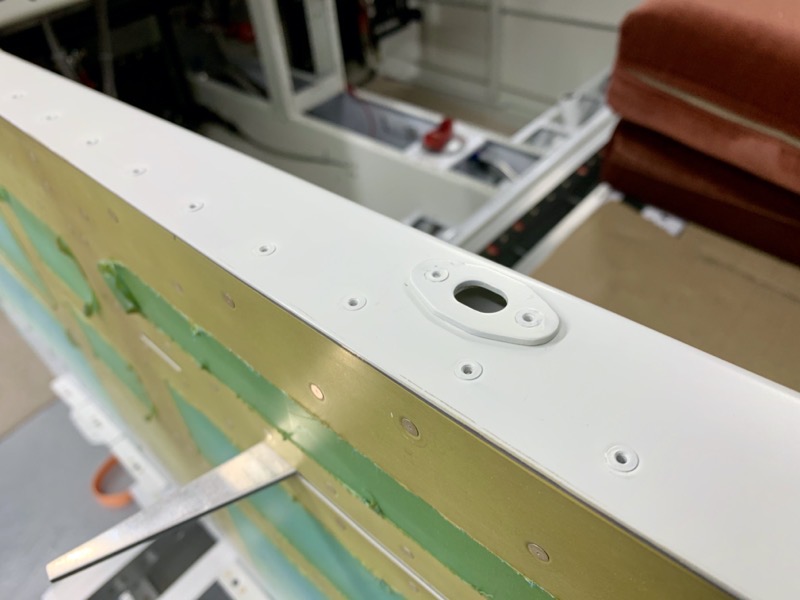
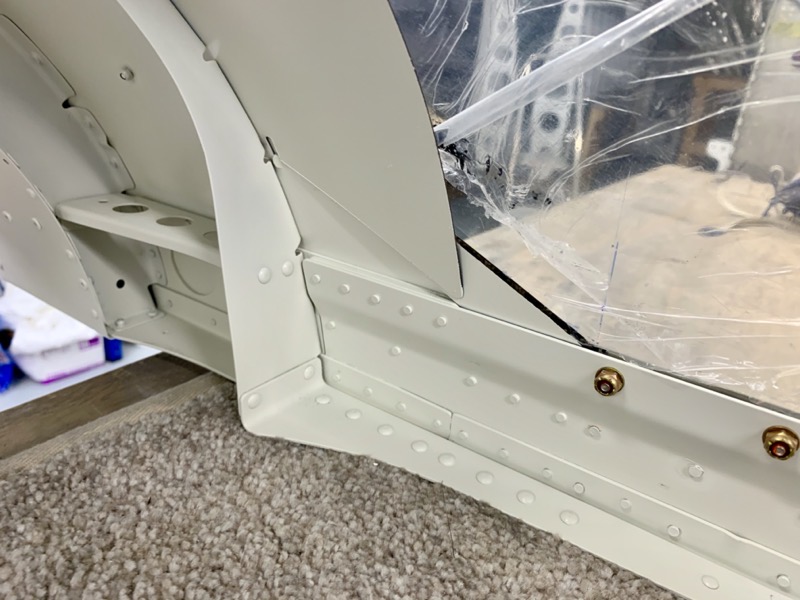
I primed/painted the plates to match the cockpit colour …

… and also the Guide Pins.
The final test was to close the canopy with baited breath to check everything aligned correctly.
That produced another “Happy Dance”!
Finishing Touches

There are small triangles of black composite layup visible at the front, so I masked up and used my airbrush to spray those areas with my cockpit paint …
… which improved the look.
I had done a test on some scrap plexiglass from the landing lights to check that my 2K paint didn’t cause any nasty issues.
It wouldn’t have been clever to dissolve my nearly finished canopy!
Trimming Aft Canopy Edge
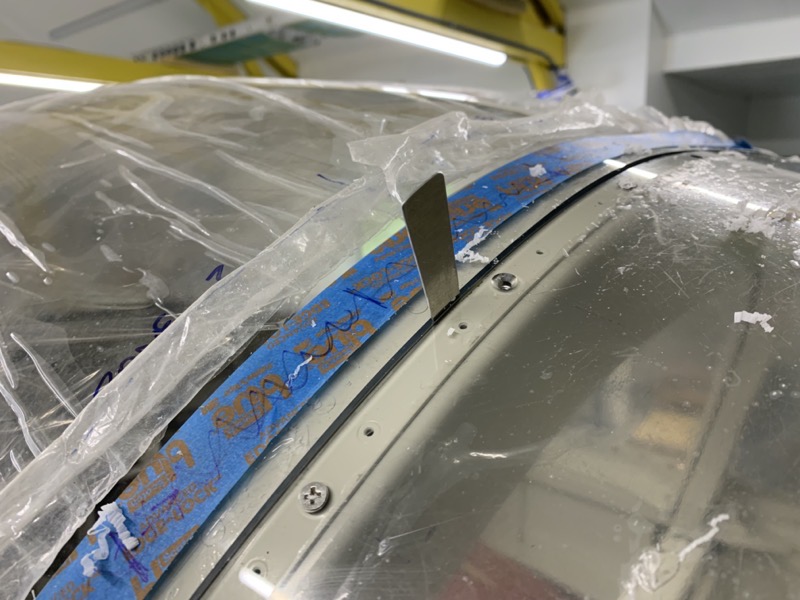
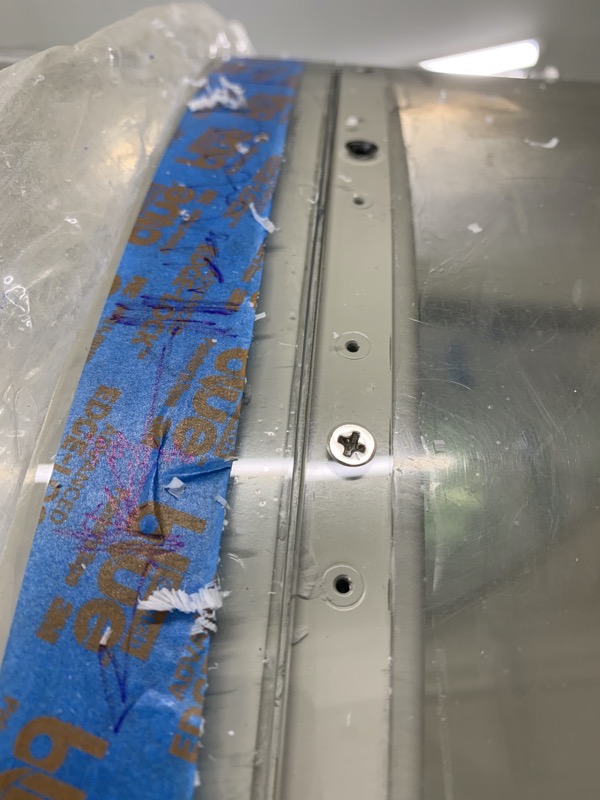
When you first fit the canopy the aft edge is trimmed to achieve a 1/32″ gap to the aft window edge.
At that stage I got it about right, but when I checked now I discovered it could be improved by some fine tuning.
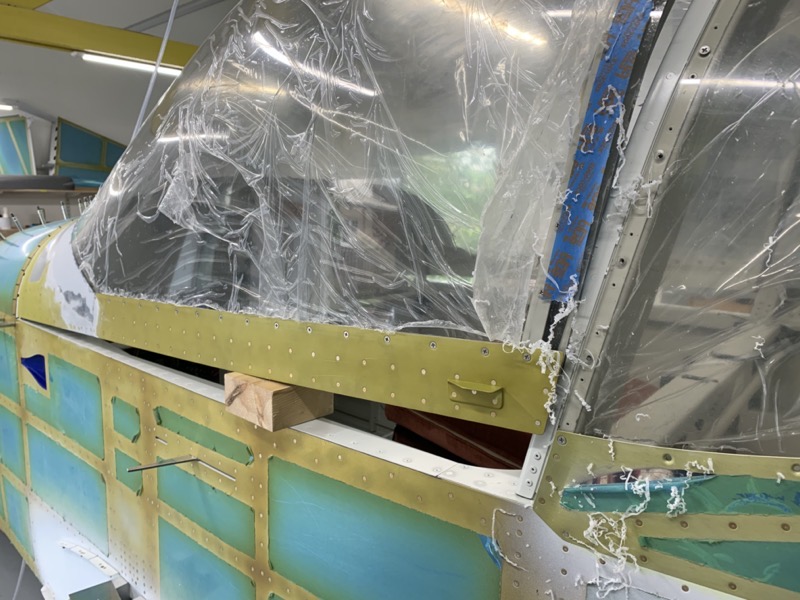
So I propped the canopy open with a wooden block …
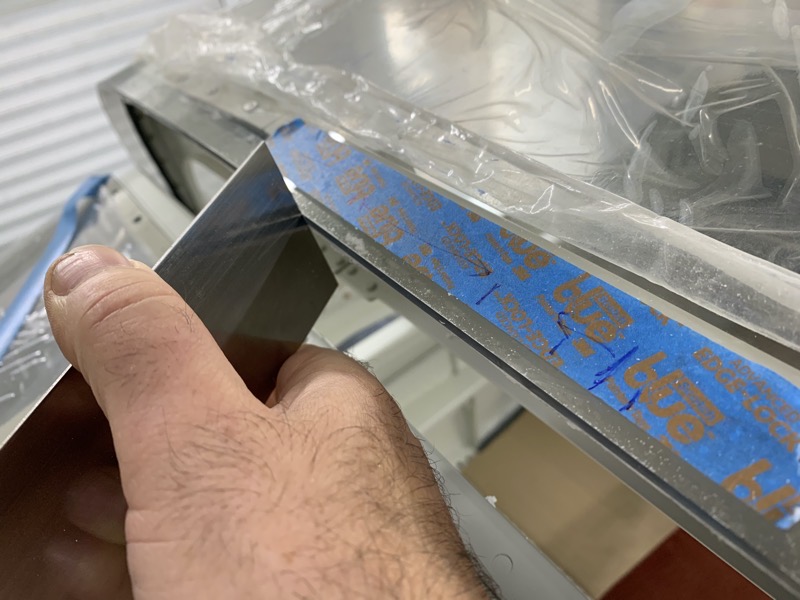
… and then used the brilliant furniture scraper to gently remove material until I could slide my 1/32″ Feeler Gauge around the whole aft edge.
Job done … it took a while, but I’m now rewarded with an accurate gap along the aft edge.
And that’s the canopy finished. It’s been a long job, but with hindsight and after the trepidation, I can say I quite enjoyed it : )