


Painting has started! Paintshop Progress 1
I had decided a long time ago that the exterior painting should be completed by a professional paint shop. Although I have been able to make a reasonable job of the interior priming and cockpit paint, I wasn’t up for tackling the exterior.
Happily for us, there is an excellent paintshop in the next door hangar. Keith and his team at Shropshire Aircraft Painting produce first class work, so we are very fortunate to have them so close.
I booked a slot with them nearly a year ago … they are in demand, so think ahead if you’d like to use their skills.
Not much actual building has taken place the last couple of weeks, since everything is at the hangar waiting for the paint shop to start the job.
But of course there were a few things left to do to get it ready …
Blue Plastic Removal

… such as removing all the blue plastic.
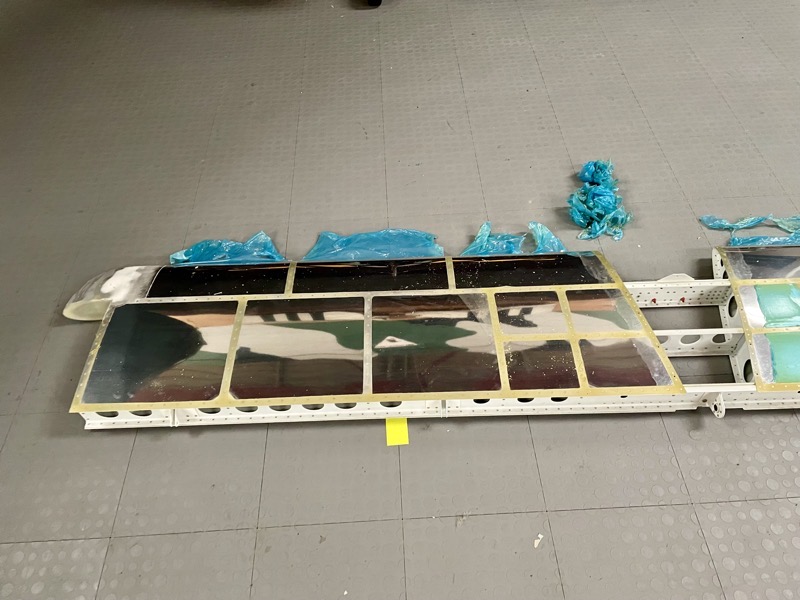
Van’s recommend that the plastic is removed soon after receipt of the kit parts, but I’ve been monitoring things closely over the build, and haven’t discovered any issues with leaving it on … at least for the 4 years or so since the first kit delivery.

It was quite cold in the hangar on the day I removed the plastic (6ºC/43ºF), and the plastic tended to leave some of the adhesive behind on the metal.
But I discovered that gentle heating with a heat gun solved that issue and made removal much easier.

Of course the first thing the paint shop will do is to scuff up all the shiny aluminium!
So Vans have probably got it right about the plastic : )
Tank Screws
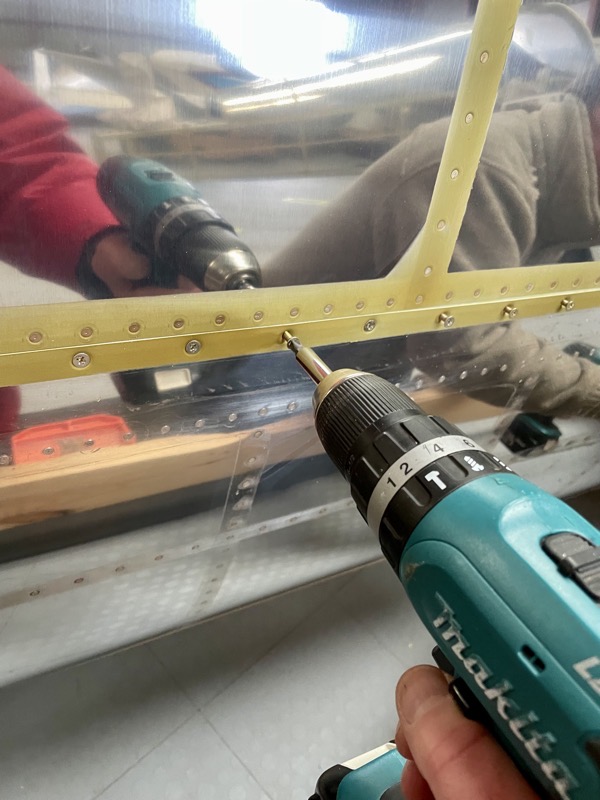
We had left the tank attachment screws out, securing the tanks with the main attachment bolts and just a handful of screws.
This was because I’d originally intended to fasten the screws after painting, to make tank removal easier if ever required.
But after more research, I read about the screws damaging the new paint as they were nipped up.
Also, if adding the screws after paint, it’s tempting to replace the Vans specified screws with the stainless steel versions. However, the stainless versions have a reduced tensile strength, so not a good plan.
In the unhappy event of removing a tank, paint cutters can be used to aid screw removal and help to minimise damage to the finish.
So on balance I decided it’s probably best to think positive, have confidence in the tanks, and paint the flippin screws!
Composites

The paint shop is working on the composite parts first … filler primer to fill the pinholes etc, and to fine tune my fairing of the joints.
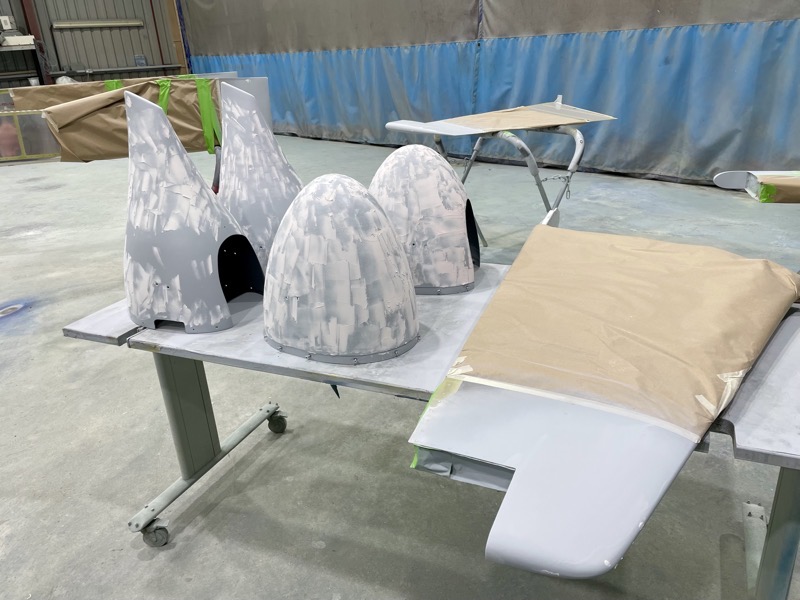
Not surprisingly the carbon fibre spats need lots of attention in the filler department.
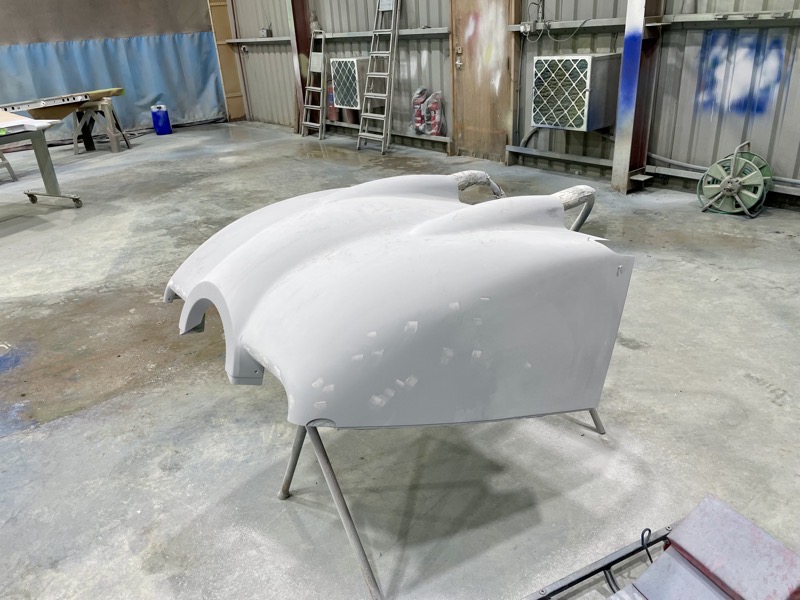
First coat on the lower cowling.
Things looking good after a few more coats.
It feels strange letting someone else work on your aeroplane … but I’m glad to avoid all that sanding : )
More paintshop here …


3 comments on Painting has started! Paintshop Progress 1
Steve, while your plane is being painted, any chance we could chat maybe via Zoom? I don’t have international service on my phone so thinking maybe via a computer hookup. I’m at least 6 months behind you and trying to get a feel for how it all comes together to get where you are. I’m battling the ProSeal goo around firewall currently. Masking as you suggested sure helps.
I’m currently working in my basement but figured I’ll move to the garage this summer to install landing gear.
Frank Dressel
Smithton Il
GMT -6
Awesome Steve.
So excited for you! It’s amazing to see it coming to the final stages! Hope to meet you there one day!